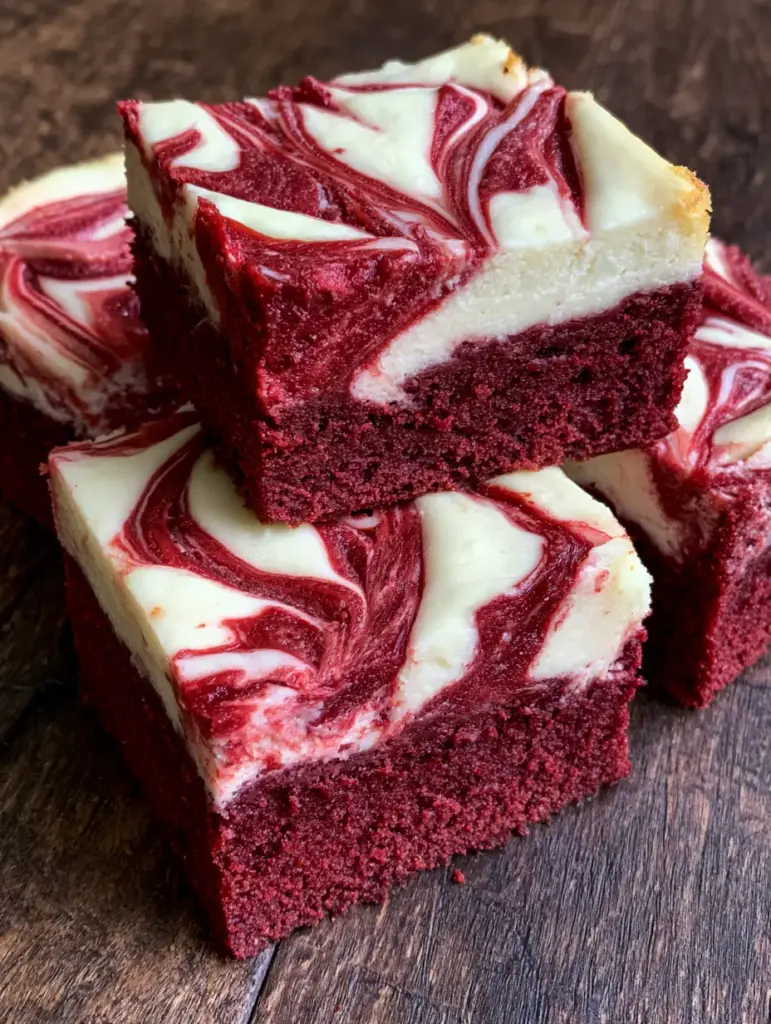
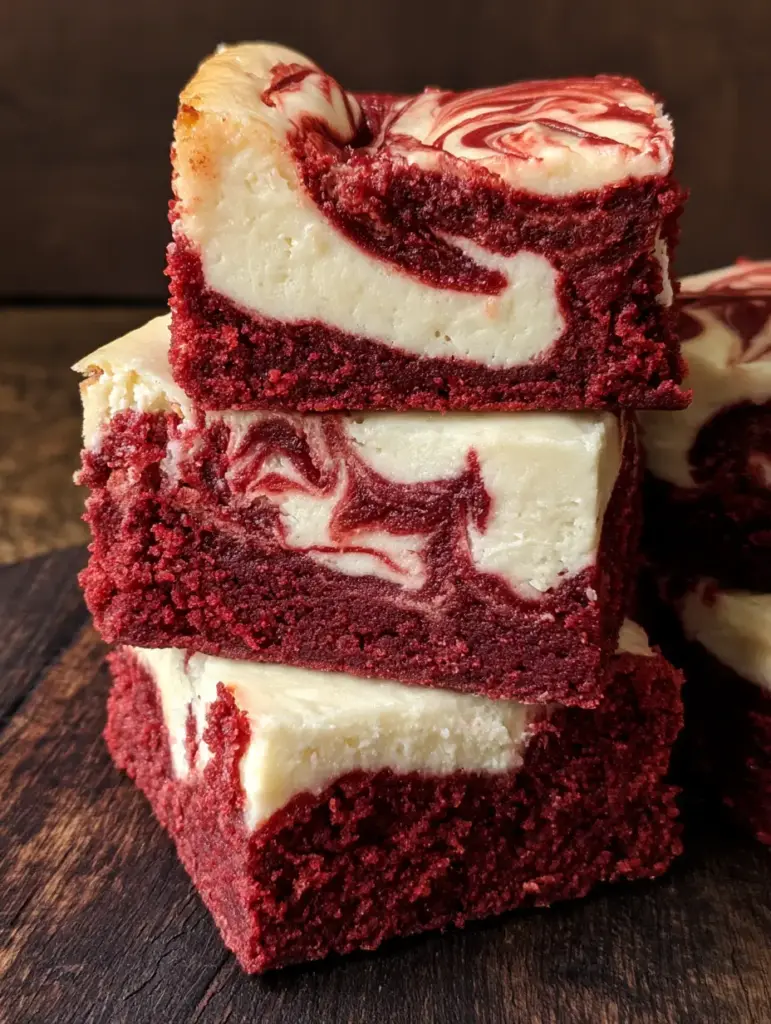
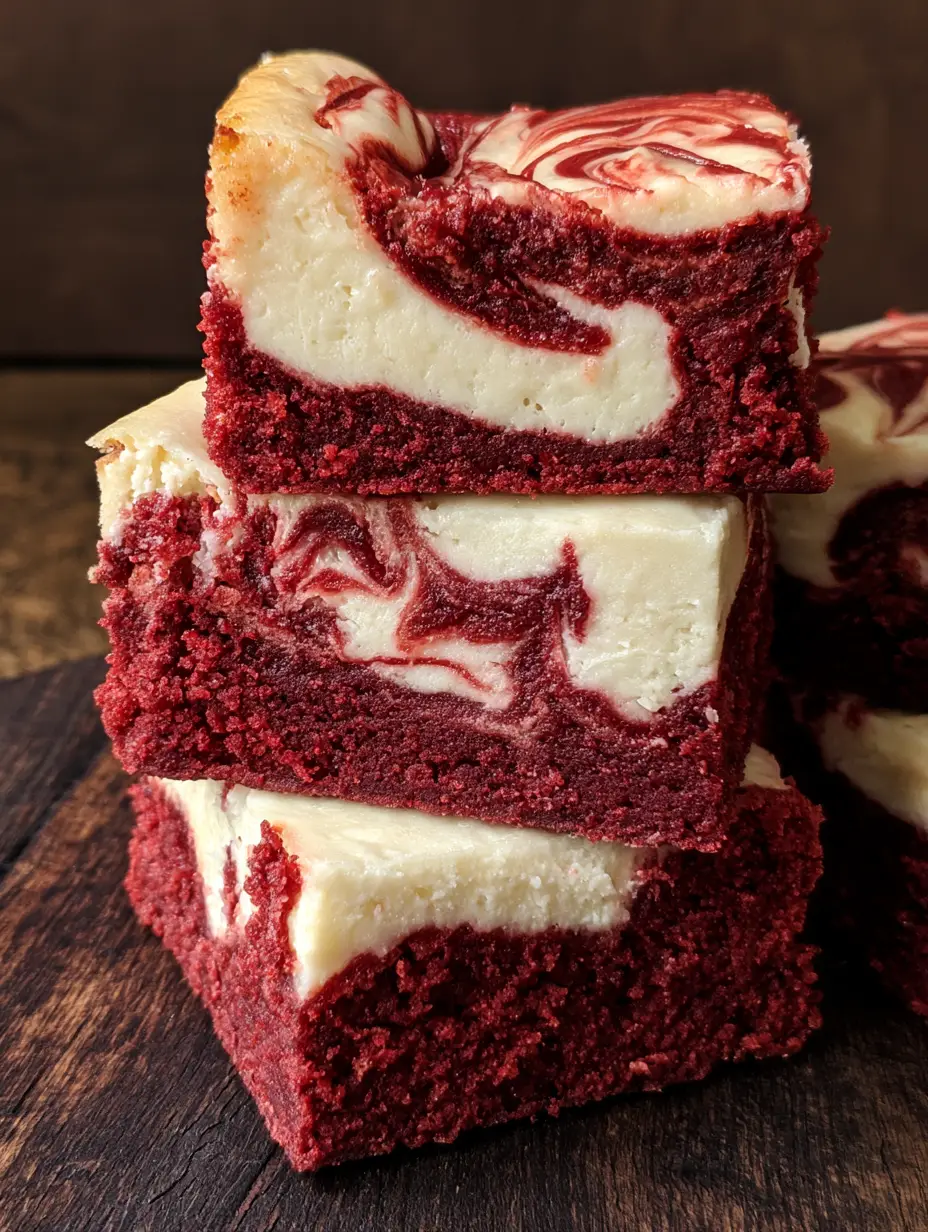
Red Velvet Cheesecake Brownies are the show-stopping dessert you’ve been searching for, combining a deep-crimson fudgy brownie base with a thick, creamy cheesecake swirl. This recipe isn’t just about the striking visual contrast; it’s about the perfect balance between tangy cream cheese and decadent, cocoa-infused chocolate.
If you love the elegance of red velvet cake but crave the dense, chewy texture of a gourmet brownie, this is your new go-to. These squares feature golden-browned edges and a matte cheesecake finish that looks professional yet feels like home.
Why You Will Obsess Over These Marbled Brownies
- The Perfect Texture Contrast: You get a thick foundation of moist, fudgy brownie topped with a smooth, velvety cheesecake layer.
- Visually Stunning: The intricate marbling of deep red and bright white makes these a viral-ready treat for Pinterest or your next party.
- Dense Cocoa Crumbs: We’ve engineered the batter to ensure dense cocoa-infused crumbs that stay moist for days.
- Balanced Flavors: The slight tang of the cheesecake cuts through the richness of the red velvet base, making it impossible to eat just one.
If you enjoy these, you should also try my rich mocha brownies for a caffeinated kick or these mini pumpkin cheesecake bites for more tangy goodness.
The Essential Ingredients for Red Velvet Perfection
Creating the ultimate Red Velvet Cheesecake Brownies requires high-quality ingredients that react chemically to produce that iconic color and texture.
The Fudgy Brownie Foundation
Unsalted Butter (1/2 cup / 113g): Melted butter provides the fat content necessary for a fudgy, chewy crumb rather than a cakey one.
Granulated Sugar (1 cup / 200g): This sweetens the cocoa and helps create that crackly brownie top we all love.
Unsweetened Cocoa Powder (1/4 cup / 25g): Red velvet is a “light” chocolate cake. We use just enough to provide depth of flavor without turning the batter dark brown.
Red Food Coloring (1-2 tablespoons): To achieve that deep-crimson hue seen in the visual blueprint, use a high-quality gel or liquid coloring.
Distilled White Vinegar (1 teaspoon): A classic red velvet staple. The acid brightens the red color and reacts with the leavening for a tender texture.
All-Purpose Flour (3/4 cup / 95g): The structure of the brownie. We keep the flour low to maintain the fudgy density.
The Creamy Cheesecake Layer
Full-Fat Cream Cheese (8 oz / 225g): Ensure this is room temperature so your swirl is smooth and free of lumps.
Large Egg (1): Acts as the binding agent to help the cheesecake layer set firmly while baking.
Pure Vanilla Extract (1/2 teaspoon): Enhances the creamy, custard-like flavor of the baked cheesecake.
Step-by-Step Instructions for the Perfect Swirl
Follow these steps to ensure your Red Velvet Cheesecake Brownies have that signature marbled effect and matte finish.
Step 1: Prep and Melt
Preheat your oven to 350°F (175°C). Line an 8×8 inch (20×20 cm) baking pan with parchment paper, leaving an overhang for easy removal. In a large microwave-safe bowl, melt the 1/2 cup (113g) of butter.
Step 2: Build the Red Velvet Base
Whisk the 1 cup (200g) of sugar, 1 egg, 1 teaspoon of vinegar, and 1 teaspoon of vanilla into the melted butter. Stir in the red food coloring until the mixture is a vivid crimson. Sift in the 1/4 cup (25g) of cocoa powder and 3/4 cup (95g) of flour. Fold until just combined—do not overmix!
Step 3: Reserve and Spread
Remove about 1/4 cup (60ml) of the brownie batter and set it aside; this will be used for your dense cocoa crumbs and swirling. Pour the remaining red batter into the prepared pan, spreading it into an even foundation.
Step 4: The Cheesecake Layer
In a separate bowl, beat the 8 oz (225g) of cream cheese, 1/4 cup (50g) of sugar, 1 egg, and 1/2 teaspoon of vanilla until silky smooth. Pour this mixture directly over the red velvet base, smoothing it to the edges.
Step 5: The Intricate Marble Swirl
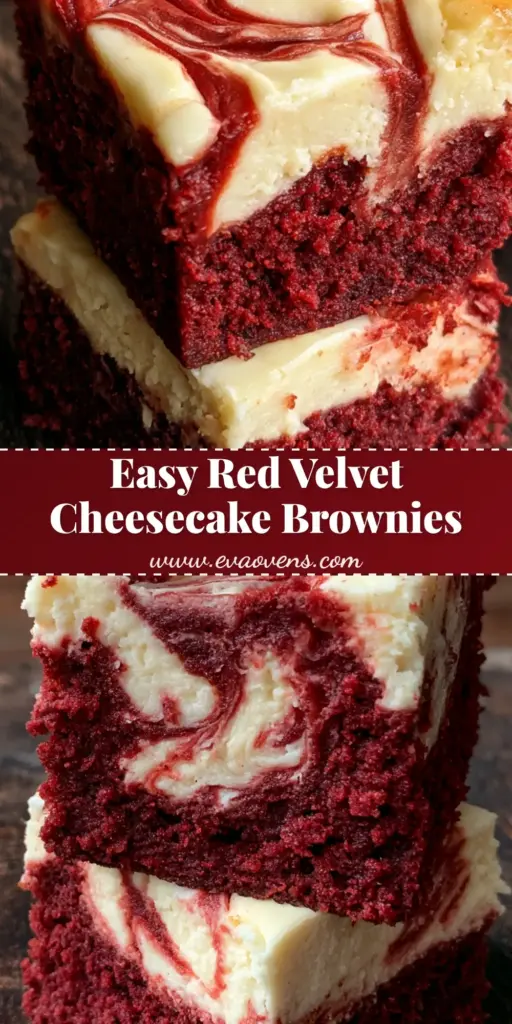
Dollop the reserved brownie batter over the cheesecake layer. Using a thin knife or skewer, swirl the batters together. Stop before the colors muddy; you want distinct crimson and white patterns. This creates the marbled effect highlighted in our visual guide.
Step 6: Bake to Perfection
Bake for 30-35 minutes. The Visual Cue: Look for the cheesecake portion to be matte and set, with slight golden browning at the very edges. The center should have a very slight jiggle, which will firm up as it cools.
Expert Tips for Success
- Room Temp Ingredients: Always use room temperature cream cheese and eggs. Cold cream cheese will result in a “lumpy” cheesecake layer that won’t swirl elegantly.
- Don’t Overbake: Brownies continue to cook in the pan. Pull them out when a toothpick has a few moist crumbs attached. If the toothpick is clean, they might be dry!
- The Clean Cut: For those perfect square-cut brownies seen in the Pinterest photos, chill the brownies in the fridge for at least 2 hours before slicing with a hot, sharp knife.
- Color Choice: Gel food coloring provides a more intense crimson without thinning the batter as much as liquid coloring does.
For more colorful baking inspiration, check out my white chocolate cranberry cookies or this stunning raspberry cream angel food cake.
Storage, Reheating & Freezing
Storage: Because of the baked cheesecake layer, these brownies must be stored in the refrigerator. Place them in an airtight container for up to 5 days.
Freezing: These freeze beautifully! Wrap individual squares in plastic wrap and store in a freezer bag for up to 3 months. Thaw in the fridge overnight before serving.
Serving Tip: While they are delicious cold, let them sit at room temperature for 20 minutes before eating to fully appreciate the fudgy brownie texture.
What to Serve With This
These Red Velvet Cheesecake Brownies are incredibly rich, so they pair best with simple accompaniments:
- A cold glass of whole milk to balance the dense cocoa.
- A dollop of unsweetened whipped cream.
- Fresh raspberries to highlight the tangy cheesecake notes.
If you’re hosting a full meal, these follow perfectly after a savory dish like my jalapeno popper bites or a hearty beef lombardi casserole.
Frequently Asked Questions
Yes, natural cocoa powder is preferred for red velvet because its acidity reacts with the vinegar to enhance the red color. Dutch-process cocoa is darker and might result in a more brownish-red hue.
The secret is to chill the brownies completely in the refrigerator for at least 2-4 hours. Use a large, sharp knife dipped in hot water and wiped dry between every single cut for professional square edges.
While you can omit it, the vinegar is a classic red velvet ingredient that tenderizes the crumb and helps keep the red food coloring vibrant. You won’t taste it in the final baked brownie!
This usually happens if the cheesecake batter is too thin or if the brownie base is too warm. Ensure your brownie base is spread evenly and dollop the cheesecake gently. Avoid over-swirling, which can cause the layers to blend rather than marble.
A little golden browning at the edges is normal, but if the whole top is browning, your oven might be running hot. Try tenting the pan with foil for the last 10 minutes of baking.
Ready to Bake These Red Velvet Cheesecake Brownies?
Red Velvet Cheesecake Brownies: The Ultimate Fudgy Marbled Recipe
Ingredients
Equipment
Method
- Preheat oven to 350°F (175°C) and line an 8x8 inch pan with parchment.
- Whisk melted butter, sugar, egg, vanilla, vinegar, and food coloring. Fold in cocoa and flour. Reserve 1/4 cup batter.
- Beat cream cheese, sugar, egg, and vanilla until smooth.
- Spread red batter in pan, top with cheesecake mixture, and dollop reserved red batter. Swirl with a knife.
- Bake for 30-35 minutes until cheesecake is matte and edges are slightly golden. Cool before slicing.
Notes
Chill for 2 hours before slicing for perfectly clean square edges.
Share the Love!
Did these Red Velvet Cheesecake Brownies turn out as beautiful as the photos? I want to see! Please save this recipe to your Pinterest Dessert Board so you never lose it. Follow @eva_ovens for more indulgent treats, and if you made these, leave a 5-star rating and upload your photo in the comments below. Your feedback helps other home cooks find the best recipes!