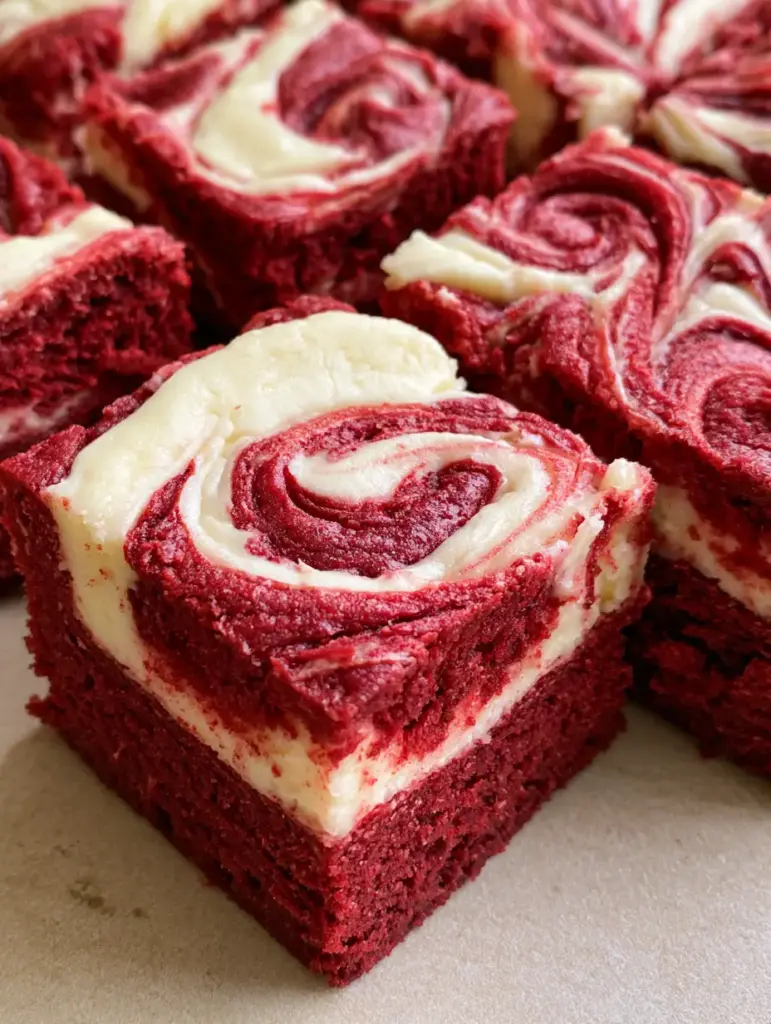
Red Velvet Cheesecake Brownies are the show-stopping dessert you’ve been searching for, combining a deep crimson, cocoa-infused fudgy base with a thick, tangy cream cheese swirl. If you are a fan of decadent textures and vibrant colors, these brownies offer the perfect visual bridge between a classic southern cake and a dense, chewy chocolate treat. The moist red batter provides a striking contrast to the creamy white cheesecake topping, making every square a work of edible art that is as delicious as it is beautiful.
Why These Fudgy Red Velvet Brownies Will Be Your New Obsession
- Ultra-Dense Texture: Unlike cakey brownies, this recipe focuses on a moist, fudgy foundation that melts in your mouth.
- The Perfect Crimson Hue: We use a specific ratio of cocoa and gel coloring to achieve that signature deep red velvet color without a chemical aftertaste.
- Intricate Marbling: The heavy cream cheese layer is swirled deep into the batter, ensuring clean-cut edges and visible internal layers in every bite.
- Balanced Flavor Profile: The tanginess of the cheesecake perfectly cuts through the richness of the cocoa-infused red batter.
If you love the combination of chocolate and cream cheese, you might also enjoy my mini pumpkin cheesecake bites for a seasonal twist or these rich mocha brownies for a coffee-infused caffeine kick.
The Essential Components for Red Velvet Perfection
To achieve the forensic visual accuracy seen in our photos, each ingredient serves a specific culinary purpose. Do not skip the acidic components, as they are vital for the authentic red velvet experience.
The Red Velvet Brownie Foundation
- Unsalted Butter (1 cup / 227g): Melted butter provides the fat necessary for a chewy, fudgy crumb.
- Granulated Sugar (2 cups / 400g): Essential for sweetness and creating that slightly crackly brownie top.
- Dutch-Process Cocoa Powder (1/4 cup / 25g): We use just enough to give a hint of chocolate flavor without turning the batter brown.
- Large Eggs (4): These act as the binder, providing structure to the heavy batter.
- Red Food Coloring (2 tablespoons / 30ml): Use a high-quality gel or liquid to ensure a vibrant, deep crimson hue.
- White Vinegar (1 teaspoon / 5ml): The “secret” ingredient that reacts with the cocoa to brighten the red color and tenderize the gluten.
- All-Purpose Flour (1.5 cups / 190g): Provides just enough structure without making the brownies bread-like.
- Salt (1/2 teaspoon / 3g): A crucial flavor enhancer to balance the sugar.
The Tangy Cheesecake Swirl
- Full-Fat Cream Cheese (8oz / 225g): Ensure this is at room temperature to prevent lumps in your creamy white cream cheese swirl.
- Granulated Sugar (1/4 cup / 50g): Just enough to sweeten the cheese without overpowering the tang.
- Egg Yolk (1 large): Adds richness and helps the cheesecake layer set firmly for those clean-cut edges.
- Vanilla Extract (1 teaspoon / 5ml): Provides a floral aroma that complements the cocoa base.
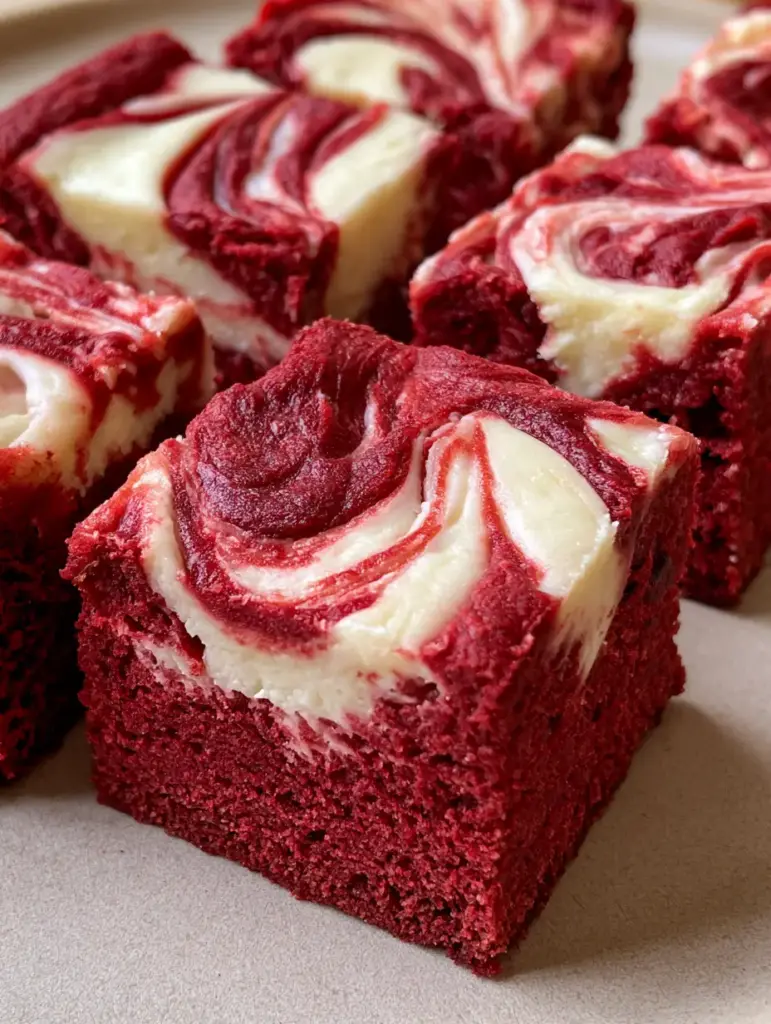
Mastering the Art of the Marbled Red Velvet Swirl
Creating Red Velvet Cheesecake Brownies requires a gentle hand and an eye for detail. Follow these steps to ensure your dessert looks exactly like the handheld smartphone photo in our blueprint.
Step 1: Preparing the Crimson Base
Start by whisking your melted butter and sugar in a large bowl. Once combined, whisk in the eggs one at a time. The batter should look glossy. Add the vanilla, vinegar, and red food coloring. Visual Cue: The batter should be a brilliant, saturated red. Gradually fold in the cocoa powder and flour until no white streaks remain. Set aside about 1/2 cup (120ml) of this batter for the final swirling process.
Step 2: Whipping the Cheesecake Layer
In a separate bowl, beat the softened cream cheese until completely smooth. Add the sugar, egg yolk, and vanilla. Beat on medium speed until the mixture is heavy and creamy. If you have leftover cream cheese, consider using it in these white chocolate cranberry cookies for another decadent treat.
Step 3: The Marbling Technique
Spread the main red velvet batter into a lined 9×9 inch (23cm) pan. Drop spoonfuls of the cheesecake mixture over the top. Then, take that reserved 1/2 cup (120ml) of red batter and drop small dollops in the gaps. Use a butter knife or skewer to intricately marble the layers together. Sensory Cue: Avoid over-swirling, or you will lose the distinct white and red contrast, resulting in a pinkish blur rather than sharp marbling.
Step 4: The Precision Bake
Bake at 350°F (175°C) for 30-35 minutes. You are looking for the edges to be set while the center remains slightly jiggly. Visual Cue: The cheesecake swirl should look matte and opaque, while the red batter should appear moist and dense. Allow the brownies to cool completely in the pan before slicing; this is the only way to achieve those professional clean-cut edges.
Expert Tips for Success
- Room Temperature Ingredients: Your cream cheese and eggs MUST be at room temp. Cold cream cheese will result in a lumpy swirl that won’t marble correctly.
- Don’t Overbake: Brownies continue to cook as they cool. Remove them when a toothpick has a few moist crumbs attached—never wait for it to come out clean.
- The Knife Trick: For the cleanest slices, wipe your knife with a warm, damp cloth between every single cut.
- Gel vs. Liquid Color: Gel food coloring is more concentrated. If using liquid, you may need a bit more to achieve the deep crimson hue.
Planning a party? These brownies pair beautifully on a dessert board next to jalapeño popper bites for a sweet-and-spicy contrast.
Storage, Reheating & Freezing
Because these Red Velvet Cheesecake Brownies contain dairy-heavy cheesecake, they should be stored in the refrigerator. Place them in an airtight container for up to 5 days. For the best texture, let them sit at room temperature for 15 minutes before serving.
Freezing: These brownies freeze beautifully! Wrap individual squares in plastic wrap and store them in a freezer bag for up to 3 months. Thaw overnight in the fridge.
What to Serve With This
These brownies are incredibly rich, so they pair best with something light or bitter to balance the sweetness. A cold glass of milk is the classic choice, but a hot cup of black coffee or a shot of espresso works wonders. If you’re serving these as part of a larger meal, consider a savory lead-in like creamy sausage tortellini to satisfy the palate before the chocolate grand finale.
Frequently Asked Questions
Yes, natural cocoa powder actually works very well in red velvet recipes because it is more acidic, which reacts with the vinegar to help preserve the red color. The flavor will be slightly more fruity and less earthy than Dutch-process.
Yes, because of the cream cheese swirl, these brownies are perishable. Store them in an airtight container in the fridge for up to 5 days for best food safety and texture.
The secret is chilling. Let the brownies cool completely at room temperature, then refrigerate for at least 2 hours. Use a sharp knife dipped in hot water and wiped dry between every single cut.
If the cheesecake layer is too heavy or the brownie batter is too thin, it will sink. Ensure your cream cheese is whipped until light and creamy, and don’t over-mix the brownie base, which should be thick and fudgy.
This usually happens if you use too much cocoa powder or a low-quality food color. Dutch-process cocoa is darker; stick to the 1/4 cup measurement. For the best results, use gel food coloring which provides a deep crimson hue without watering down the batter.
The Ultimate Red Velvet Cheesecake Brownies Recipe
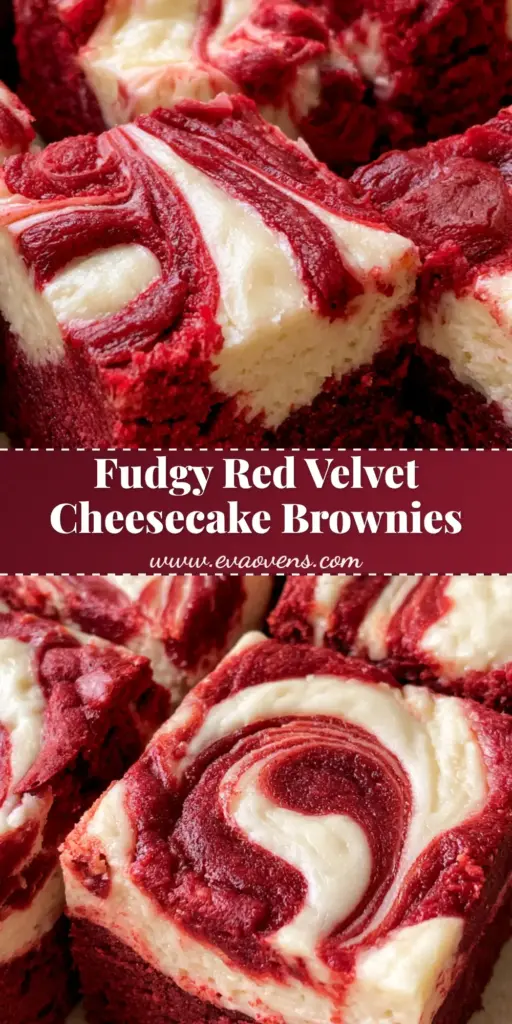
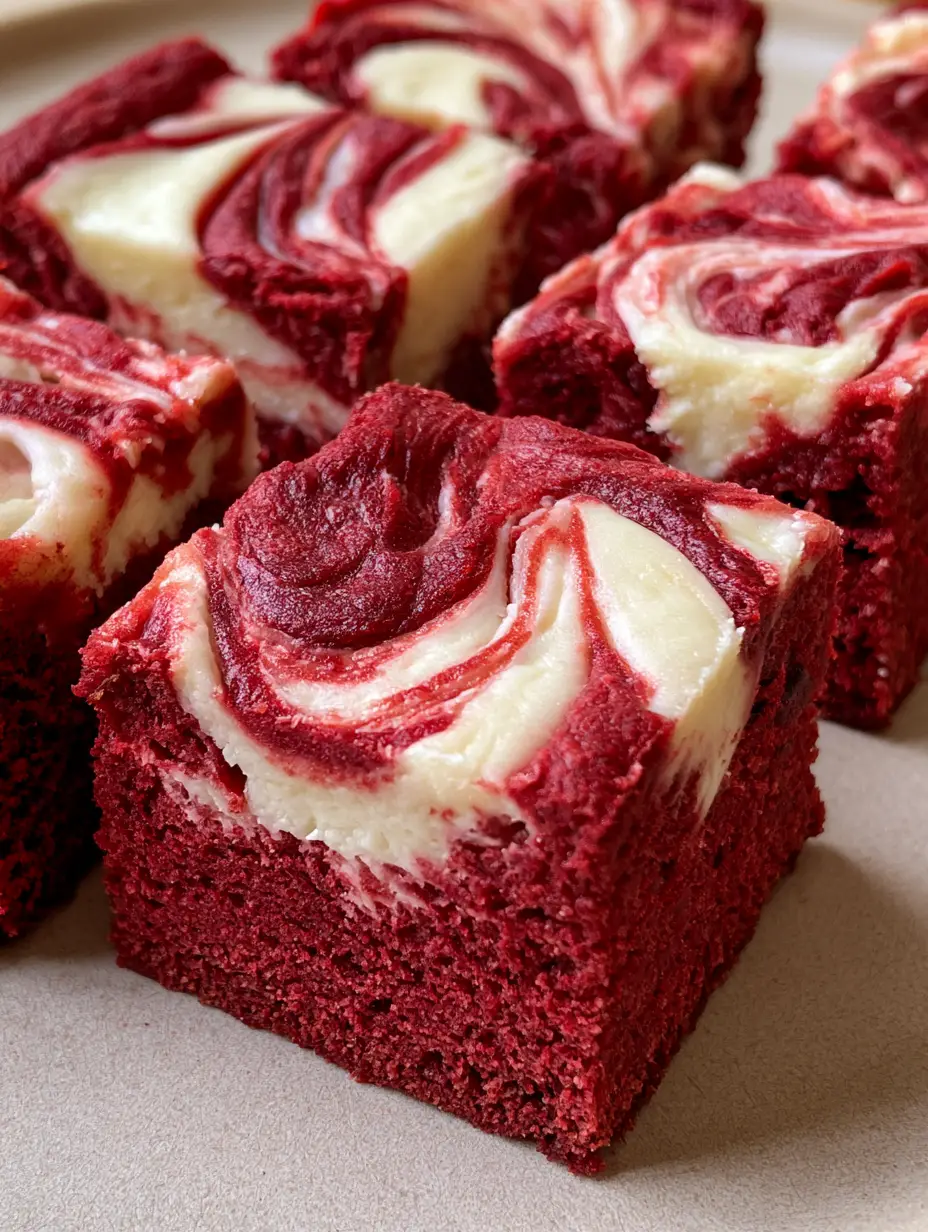
Red Velvet Cheesecake Brownies: The Ultimate Fudgy Marbled Recipe
Ingredients
Equipment
Method
- Whisk melted butter and sugar. Add eggs, vanilla, vinegar, and red food coloring. Whisk until glossy and crimson.
- Fold in cocoa powder, flour, and salt until just combined. Reserve 1/2 cup of batter for the swirl.
- Beat softened cream cheese, sugar, egg yolk, and vanilla until heavy and creamy.
- Spread red batter in pan. Dollop cheesecake mixture and reserved red batter on top. Intricately marble with a knife.
- Bake at 350°F (175°C) for 30-35 minutes until edges are set. Cool completely before slicing for clean edges.
Notes
Ensure cream cheese is at room temperature to avoid a lumpy marbled top.
Save, Share & Rate!
Did you make these Red Velvet Cheesecake Brownies? We want to see your intricately marbled masterpieces! Please save this recipe to your favorite Pinterest board by clicking the “Pin” button. If you’ve tried the recipe, leave a 5-star rating in the recipe card above and drop a comment below with a photo of your brownies. Your feedback helps our community grow and ensures everyone gets those perfect fudgy layers every time! Follow eva_ovens for more decadent dessert inspiration.