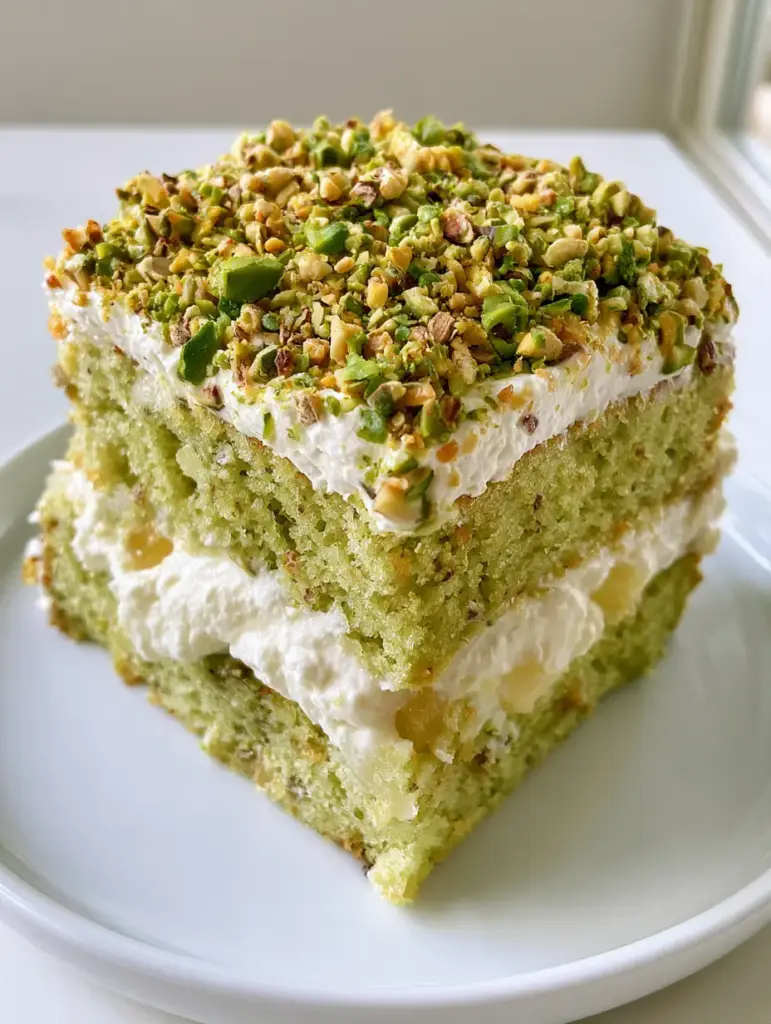
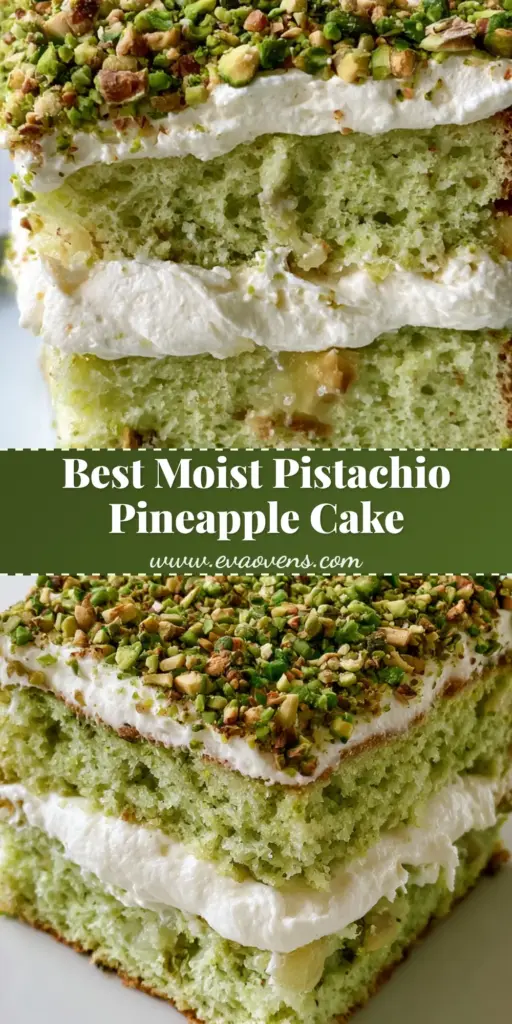
This Pistachio Pineapple Cake is the vibrant, tropical-meets-nutty dessert your Pinterest boards have been waiting for. With a light green, airy sponge and a cloud-like whipped cream topping, it’s a showstopper that tastes even better than it looks. If you love refreshing citrus notes paired with the earthy crunch of roasted nuts, this recipe is your new gold standard for hosting.
Finding the perfect balance between a moist pistachio sponge cake and bright fruit can be tricky, but this recipe nails it every time. The secret lies in the crushed pineapple bits folded directly into the batter, which provide tiny bursts of sweetness in every single bite. It’s a texture lover’s dream that bridges the gap between a classic snack cake and an elegant patisserie creation.
Why You Will Obsess Over This Pistachio Pineapple Cake
- The Perfect Texture: A moist, light green sponge that stays soft for days thanks to the acidity of the pineapple.
- Visual Contrast: The stark white of the thick whipped cream frosting against the bright green roasted pistachios is stunning.
- Perfectly Balanced Sweetness: We use real fruit and toasted nuts to ensure the cake isn’t cloying, making it a hit for all ages.
- Scroller-Stopping Beauty: This cake is designed to be the star of your social media feed, looking like a professional bakery slice right in your kitchen.
Essential Ingredients for a Moist Pistachio Sponge
To achieve that signature Visual Recipe Blueprint look, each ingredient serves a specific culinary purpose. Don’t skip the roasting of the nuts—it’s the difference between a good cake and a viral one.
Roasted Pistachios: You will need 1.5 cups (190g) of finely chopped roasted pistachios. Roasting them brings out the natural oils and provides that deep tan and bright green contrast seen in the final garnish.
Crushed Pineapple: One 20oz (567g) can of crushed pineapple, drained but not squeezed dry. The crushed pineapple bits keep the crumb incredibly moist and add a subtle tropical tang.
All-Purpose Flour: 2.5 cups (312g) provides the structural foundation for the sponge. It’s enough to support the fruit without becoming dense.
Neutral Oil: 3/4 cup (180ml) of vegetable or canola oil ensures a “moist and airy” crumb, even when the cake is served cold from the fridge.
Heavy Whipping Cream: 2 cups (480ml) of cold heavy cream. This is the base for our thick whipped cream frosting, which must be whipped to stiff peaks to support the heavy pistachio topping.
Internal Link Opportunity: If you love fruity desserts, you have to try these Lemon Raspberry Cookies for your next baking session.
How to Make the Perfect Pistachio Pineapple Cake Sponge
1. Preparing the Nutty Green Base
Start by pulsing your roasted pistachios in a food processor until they are finely chopped. You want a mix of powder and small fragments to ensure the sponge gets that “light green” hue naturally.
In a large bowl, whisk together your flour, sugar, baking powder, and a pinch of salt. The salt is crucial; it cuts through the sugar and enhances the nuttiness of the pistachio.
2. Integrating the Pineapple Bits
Combine your wet ingredients—oil, eggs, and vanilla—in a separate bowl. Slowly incorporate these into the dry mix until just combined. Do not overmix, or the sponge will lose its airy quality.
Gently fold in the crushed pineapple bits. Ensure they are evenly distributed so that every square slice has visible fragments of fruit. The moisture from the pineapple will react with the leavening agents to create a beautiful rise.
3. The Golden Bake
Pour the batter into a greased square baking pan. Bake at 350°F (175°C) for 30-35 minutes. You are looking for the edges to pull away slightly and a toothpick to come out clean.
Let the cake cool completely. This is non-negotiable. If the cake is even slightly warm, your thick whipped cream frosting will melt into a puddle, ruining the clean layers.
Whisking the Perfect Cloud Frosting
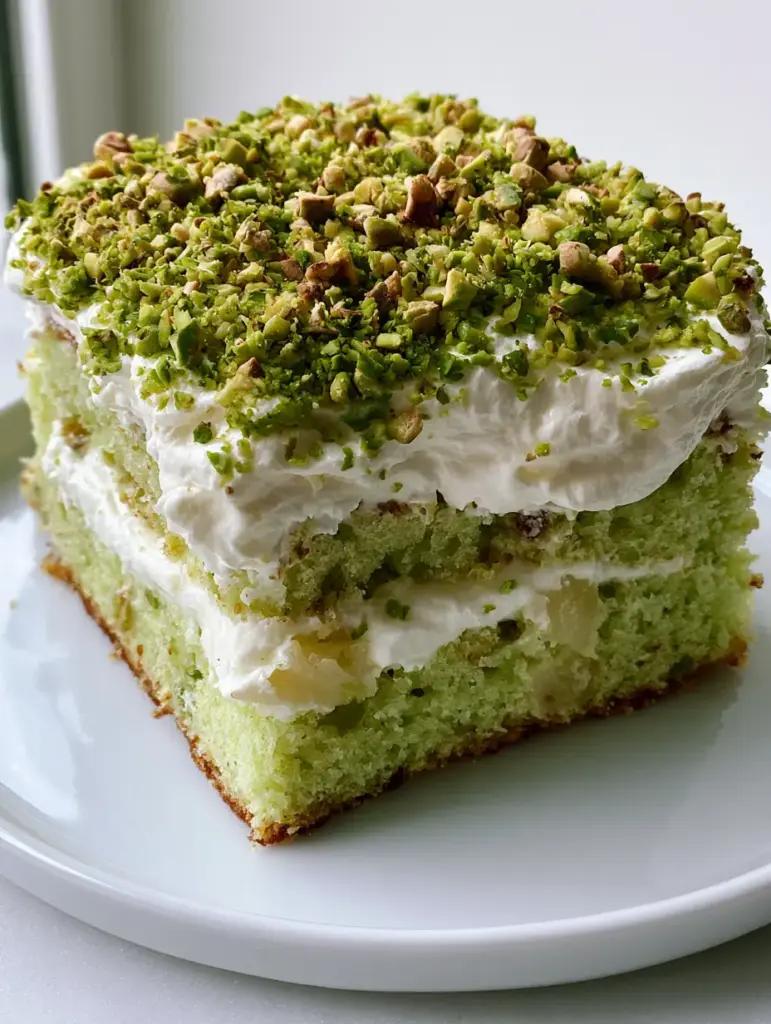
The middle layer of this cake is a thick, smooth, and fluffy white whipped cream frosting. To achieve this, use a chilled metal bowl and whisk attachment.
Beat the heavy cream with powdered sugar and a touch of stabilizer (like cream cheese or instant pudding mix) until stiff peaks form. The texture should be robust enough to hold the weight of the garnish without collapsing.
Spread the frosting in an even, thick layer across the cooled cake. Use an offset spatula to create a flat surface for our final, most important step: the pistachio crust.
The Final Flourish: The Pistachio Garnish
According to our Visual Recipe Blueprint, the top surface must be “heavily garnished with a dense layer.” Take your remaining finely chopped roasted pistachios and press them gently into the cream.
You want full coverage—no white frosting should be peeking through the center. The contrast of the bright green and tan roasted pistachios against the white cream is what makes this cake a Pinterest sensation.
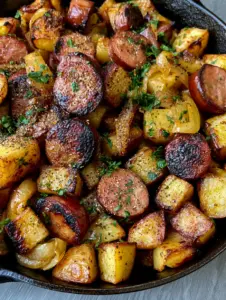
Internal Link Opportunity: Looking for a savory contrast to this sweet treat? Try my Fried Potatoes and Sausage for a comforting weekend breakfast.
Expert Tips for Success
- Drain the Pineapple: Ensure you drain the juice well, but don’t press it through a sieve. We want the moisture, not the liquid swamp.
- Temperature Matters: Use room temperature eggs for a better emulsification in the sponge batter.
- Toast Your Nuts: Even if you buy “roasted” pistachios, a quick 3-minute toast in a dry pan awakens the aromatic oils.
- Clean Slices: To get that perfect square slice look, wipe your knife clean between every single cut.
Storage, Reheating & Freezing
Storage: Because of the fresh whipped cream and fruit, this Pistachio Pineapple Cake must be stored in the refrigerator. Cover it tightly with plastic wrap or store in an airtight container for up to 4 days.
Freezing: You can freeze the sponge (without frosting) for up to 3 months. Wrap it twice in plastic wrap and once in foil. We do not recommend freezing the cake once the whipped cream frosting has been added.
What to Serve With This Cake
This cake is incredibly versatile. For a summer brunch, serve it alongside a fresh Vietnamese Lemongrass Chicken salad for a light, aromatic meal. If you’re hosting a cozy dinner, it follows a Hot Chicken Salad Casserole perfectly, providing a refreshing finish to a savory meal.
Frequently Asked Questions
Absolutely! This recipe fits two 8-inch round pans. Reduce the baking time to 25-30 minutes and check for doneness with a toothpick. You can then stack them for a beautiful layered look.
Yes, but you must finely chop the fresh pineapple and simmer it briefly to neutralize the enzymes that can prevent the cake from rising. Ensure you measure the bits accurately after chopping.
No, the skins add flavor and a beautiful tan contrast to the bright green nut. Just ensure they are roasted and finely chopped to integrate well into the sponge and garnish.
Ensure the cake is completely cold before frosting. Adding a tablespoon of instant vanilla pudding mix or a bit of cream cheese to the heavy cream while whipping will help stabilize it for a thicker, longer-lasting finish.
This recipe relies on the natural hue of finely chopped roasted pistachios. For a more vibrant ‘neon’ green, you can add a single drop of natural green food coloring, but the roasted nuts provide a beautiful, authentic light green shade.
The Ultimate Pistachio Pineapple Cake Recipe
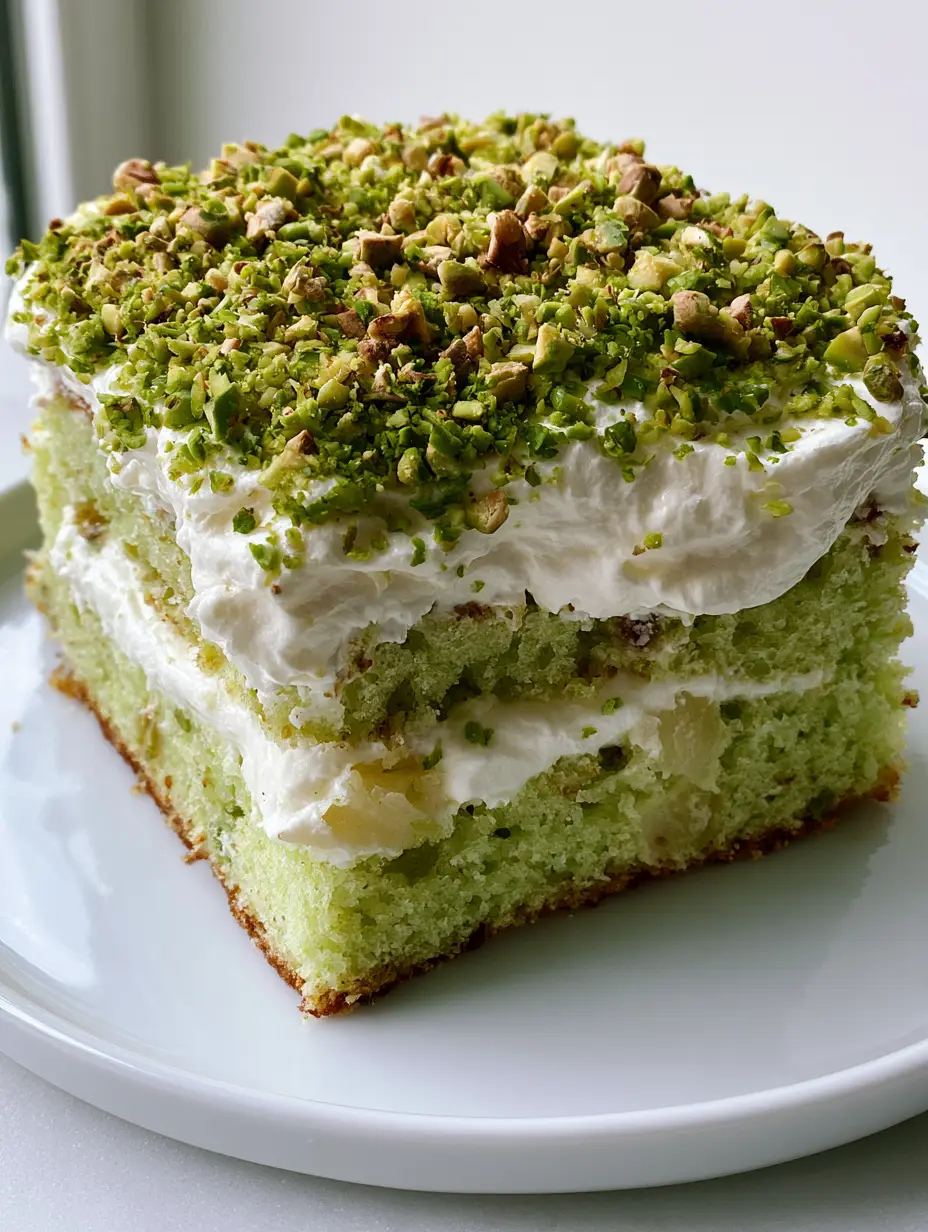
Pistachio Pineapple Cake: The Ultimate Moist and Fluffy Layered Dessert
Ingredients
Equipment
Method
- Preheat oven to 350°F (175°C) and grease a square baking pan.
- Whisk flour, sugar, baking powder, and finely chopped pistachios in a large bowl.
- Stir in oil, eggs, and vanilla, then gently fold in the crushed pineapple bits until a moist batter forms.
- Pour into pan and bake for 35 minutes until golden and airy. Cool completely.
- Whip heavy cream to stiff peaks and spread a thick layer over the cake.
- Cover the surface with a dense layer of roasted pistachios for the final visual finish.
Notes
Toast the pistachios for 3 minutes in a pan to enhance the tan and green colors.
Save This Recipe to Pinterest!
Did you love this Pistachio Pineapple Cake? Make sure to save it to your favorite Dessert board on Pinterest so you never lose it! Following @eva_ovens helps us bring you more viral-worthy recipes every week.
If you made this cake, we want to see it! Share a photo in the comments below or tag us on social media. Your feedback helps our community grow, and don’t forget to leave a 5-star rating if this cake hit the spot!
Hungry for more? Check out our Chocolate Zucchini Brownies for another hidden-vegetable dessert that tastes like pure indulgence.