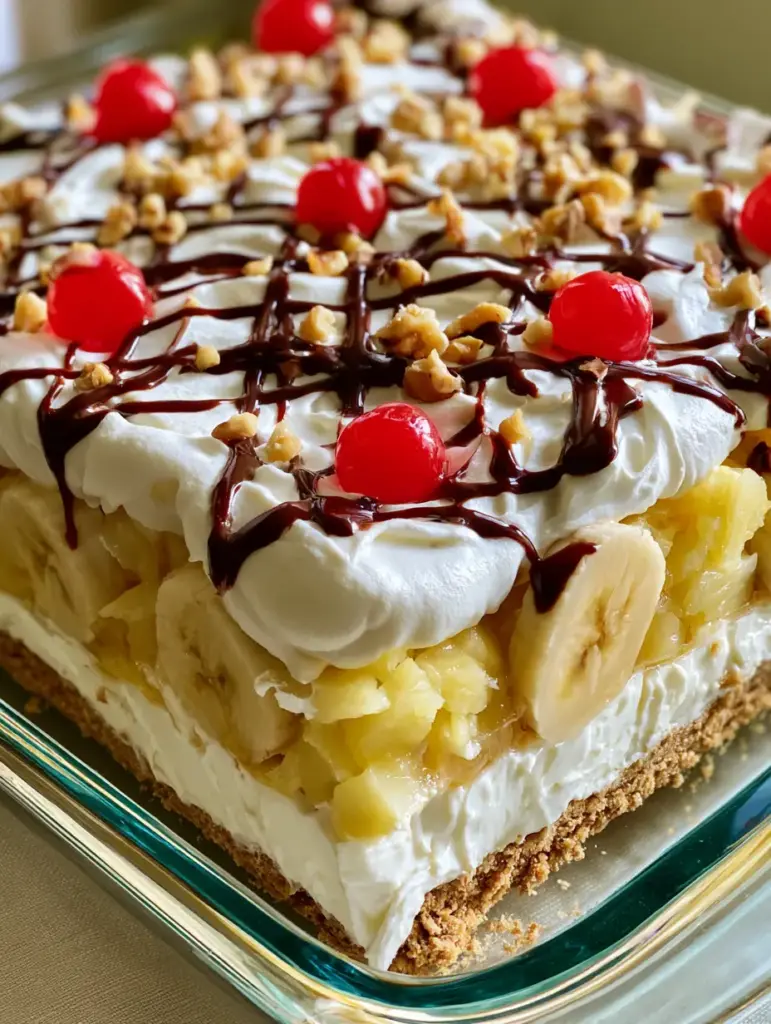
This No-Bake Banana Split Cake is the ultimate crowd-pleasing dessert that combines the nostalgic flavors of a classic ice cream parlor treat with the ease of a refrigerator cake. If you are looking for a show-stopping centerpiece that requires zero oven time, this layered masterpiece is your answer. Perfectly balancing a buttery, golden-brown graham cracker crust with a velvety cream cheese filling and vibrant layers of fresh fruit, it is a visual and textural triumph.
Whether you are hosting a summer barbecue or looking for a refreshing finale to a family dinner, the No-Bake Banana Split Cake delivers a symphony of flavors in every bite. The dense layer of sliced fresh yellow bananas and crushed yellow pineapple provides a juicy contrast to the rich, white whipped cream topping. Best of all, this recipe is designed to be prepared in advance, allowing the layers to meld into a sliceable, creamy dream.
Why This Layered No-Bake Banana Split Cake Works
- Zero-Bake Simplicity: Keep your kitchen cool while creating a professional-grade dessert that looks like it came from a high-end bakery.
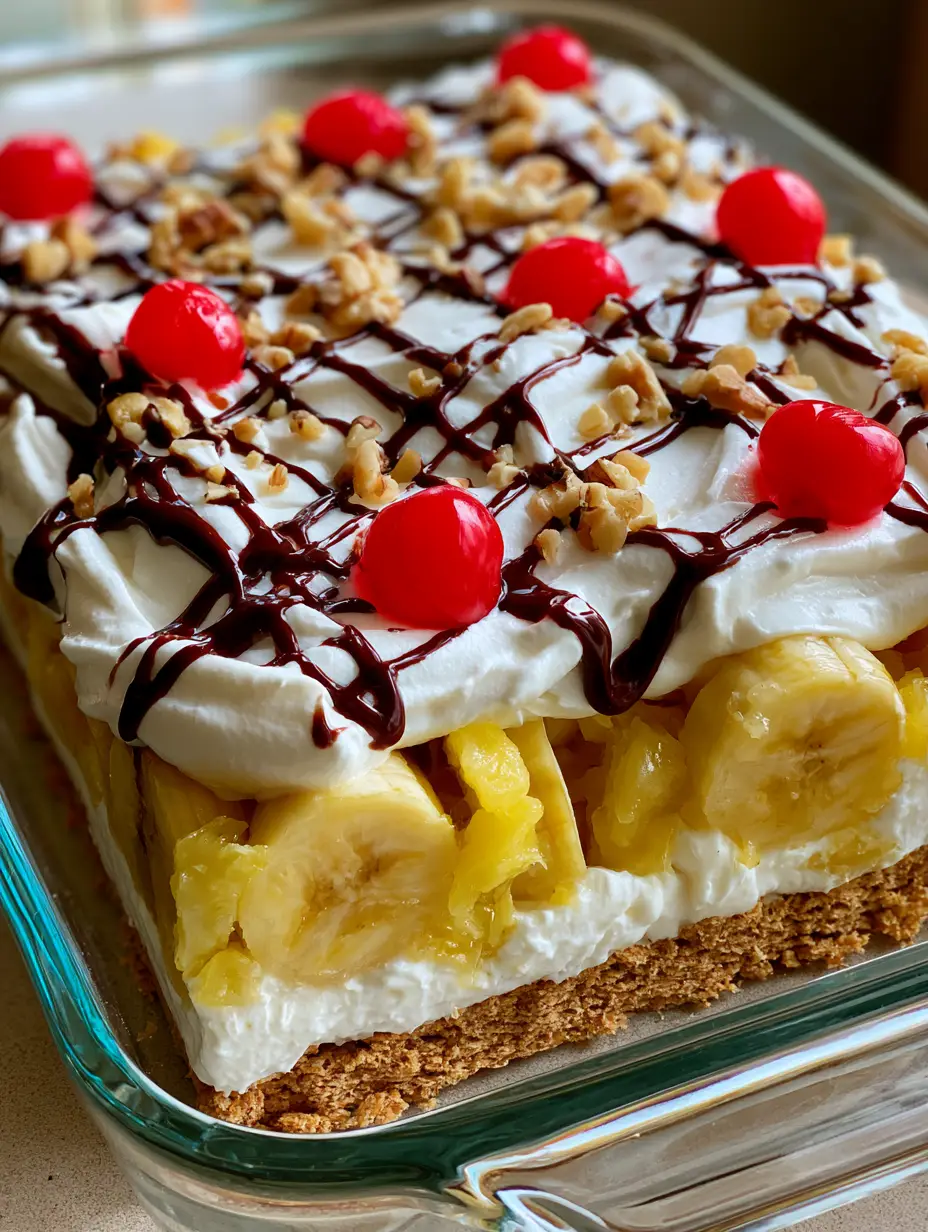
- Visual Masterpiece: The clear rectangular glass dish showcases the distinct, colorful layers, from the golden crust to the bright red maraschino cherries.
- Texture Contrast: You get the crunch of toasted walnuts, the creaminess of sweetened cream cheese, and the snap of chilled chocolate syrup.
- Make-Ahead Friendly: This cake actually improves after a few hours in the fridge, making it the perfect stress-free dessert for entertaining.
If you love the convenience of no-bake treats, you might also enjoy these no-bake pumpkin cheesecake balls for your next seasonal gathering.
Essential Ingredients for Success
To achieve the Forensic Visual Accuracy required for this dish, each ingredient serves a specific culinary purpose. Do not skip the draining process for the fruit, as excess moisture is the enemy of a clean, layered slice.
The Golden Graham Cracker Base
Graham Cracker Crumbs: 2 cups (240g). These provide the structural foundation. The fine texture ensures a compact, “pressed” crust that won’t crumble when sliced.
Unsalted Butter, Melted: 1/2 cup (115g). The “glue” that binds the crumbs together, offering a rich, salty-sweet profile that complements the fruit.
Granulated Sugar: 2 tablespoons (25g). Helps to slightly caramelize the crust even without baking, providing a subtle snap.
The Velvety Cream Cheese Layer
Cream Cheese, Softened: 16 oz (450g). Use full-fat bricks for the best stability. This layer needs to be thick and white to provide a stark visual contrast to the fruit.
Powdered Sugar: 1.5 cups (180g). Sweetens the filling while maintaining a smooth, grit-free mouthfeel.
Vanilla Extract: 1 teaspoon (5ml). Adds a floral aromatic depth that bridges the gap between the tangy cheese and sweet fruit.
The Vibrant Fruit & Cream Layers
Fresh Bananas: 3-4 medium, sliced into 1/4 inch (6mm) rounds. Use ripe but firm bananas to ensure they hold their shape within the “dense layer” specified in the blueprint.
Crushed Pineapple: 20 oz (565g) can, heavily drained. It is vital to squeeze out all the juice so the cake doesn’t become soggy. The yellow pineapple adds a bright, acidic pop.
Heavy Whipping Cream: 2 cups (480ml), whipped to stiff peaks (or 16oz of stabilized whipped topping). This forms the “thick, smooth layer of white whipped cream” that seals the dessert.
The Iconic Banana Split Toppings
Chocolate Syrup: 1/4 cup (60ml). This will be applied in a “messy grid” pattern to mimic the artistic, handheld look of the original visual prompt.
Chopped Walnuts: 1/2 cup (60g). These tan pieces provide the essential crunch and earthy contrast to the sugary syrup.
Maraschino Cherries: 12-15 pieces, patted dry. These bright red jewels must be placed at regular intervals for that classic soda-fountain aesthetic.
Step-by-Step Instructions to Perfection
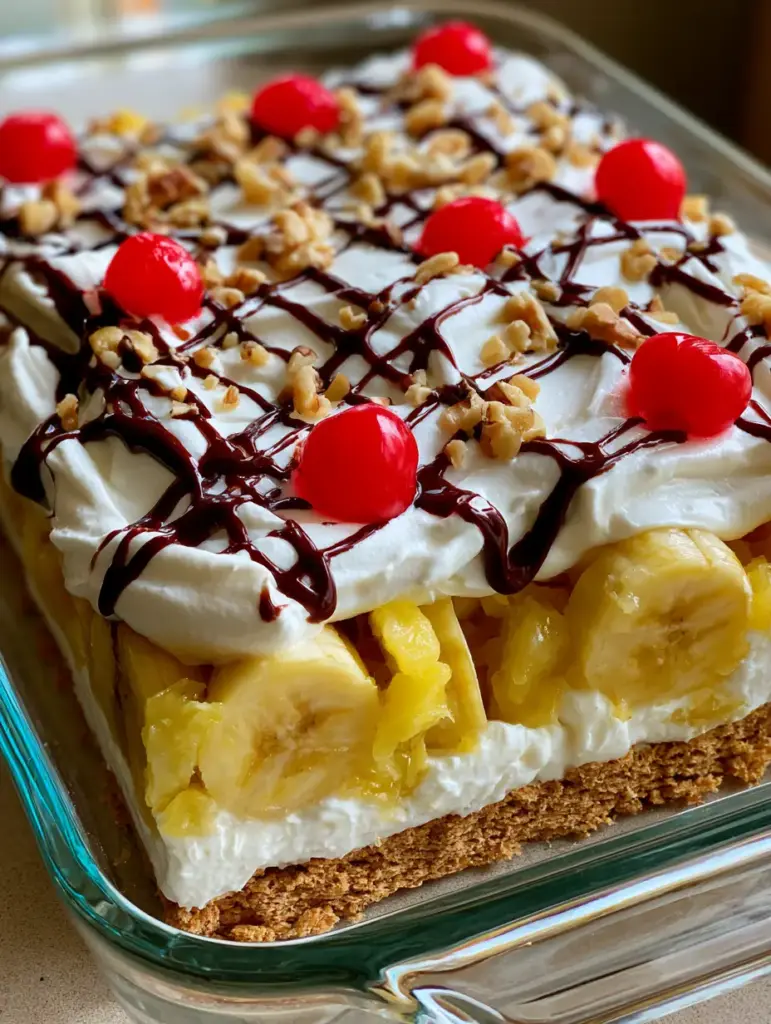
Following these steps ensures your No-Bake Banana Split Cake matches the visual blueprint exactly. We focus on building clean, distinct layers in a clear rectangular glass baking dish.
1. Constructing the Foundation
In a medium mixing bowl, combine the 2 cups (240g) of graham cracker crumbs, melted butter, and sugar. Stir until the mixture resembles wet sand. Pour the mixture into a 9×13 inch (23x33cm) glass dish.
Visual Cue: Use the bottom of a flat measuring cup to press the crumbs firmly into the bottom. It should be a perfectly even, golden-brown base. Chill this in the freezer for 10 minutes to set while you prepare the next layer.
2. The Creamy Center
In a large bowl, beat the softened cream cheese, powdered sugar, and vanilla until light and fluffy. This should take about 3 minutes of high-speed mixing. The goal is a thick layer of white filling that is sturdy enough to support the fruit.
Spread this mixture evenly over the chilled crust using an offset spatula. Ensure you push the filling all the way to the edges of the glass dish so the layer is visible from the side.
For more fruit-forward inspiration, check out our pistachio pineapple cake which utilizes similar tropical notes.
3. The Dense Fruit Layering
This is where the No-Bake Banana Split Cake gets its name. Peel and slice your bananas. Arrange them in a single, tight layer over the cream cheese filling. There should be very little white filling showing through the bananas.
Next, take your well-drained crushed pineapple and scatter it evenly over the bananas. Use the back of a spoon to lightly press the pineapple into the gaps between the banana slices. This creates the “dense layer of yellow” mentioned in our visual guide.
4. The Whipped Topping & Decor
Top the fruit with your whipped cream. Use a spatula to create a thick, smooth layer of white cream. Smooth it out until it reaches the edges of the dish.
Now, for the artistic finish: Take your chocolate syrup and drizzle it in a messy grid pattern across the surface. Immediately follow with a scatter of the small tan chopped walnut pieces. Finally, place the bright red maraschino cherries at regular intervals—usually three rows of four or five cherries looks best.
Expert Tips for the Best No-Bake Banana Split Cake
- The Pineapple Press: Do not just drain the pineapple in a sieve; use a clean kitchen towel or paper towels to squeeze out the excess moisture. If the pineapple is too wet, the cream cheese layer will become soupy.
- Banana Preservation: If you aren’t serving the cake within 4 hours, lightly toss your banana slices in a tablespoon of lemon juice to prevent oxidation and browning.
- Temperature Control: Ensure your cream cheese is truly at room temperature before beating, or you will end up with small lumps in your beautiful white layer.
- Clean Slicing: For those perfect Pinterest-worthy squares, wipe your knife clean with a warm, damp cloth between every single cut.
Love creamy textures? You’ll find similar satisfaction in our Italian lemon custard cake.
Storage and Serving Suggestions
The No-Bake Banana Split Cake must be kept refrigerated. It requires at least 4 hours of chilling time to set properly, but overnight is even better for the crust to soften slightly into a cake-like texture.
Refrigeration: Cover the glass dish tightly with plastic wrap or a lid. It will stay fresh for up to 3 days. Note that the bananas may begin to soften and release moisture after 48 hours.
Freezing: While you can freeze this cake, the texture of the fresh bananas and pineapple will change significantly upon thawing (becoming mushy). We recommend enjoying this fresh from the fridge.
What to Serve With This Dessert
Because this cake is rich and multifaceted, it pairs well with light, savory mains. Consider serving it after a meal of garlic parmesan chicken pasta bake or a refreshing salad. For a beverage pairing, a simple iced coffee or a cold glass of milk balances the sweetness of the chocolate and cherries perfectly.
Frequently Asked Questions
While a 9×13 glass dish is standard for the layers shown, you can use two 8-inch square pans or a deep-dish trifle bowl. Keep in mind the layer thickness will vary.
Yes, you can substitute 16oz of stabilized whipped topping (like Cool Whip) for the heavy cream. It often holds its shape longer in heat, making it a great choice for outdoor summer parties.
The most critical step is draining the crushed pineapple. Pour it into a fine-mesh sieve and press firmly with a spoon or a clean kitchen towel to remove every drop of liquid before adding it to the cake.
It needs a minimum of 4 hours in the refrigerator to become sliceable. For the best results and the cleanest slices, let the cake set overnight so the crust and cream layers can fully firm up.
Since the bananas are sandwiched between cream cheese and pineapple, they are mostly protected from air. For extra protection, toss the slices in a little lemon juice or pineapple juice before layering.
The Ultimate No-Bake Banana Split Cake Recipe
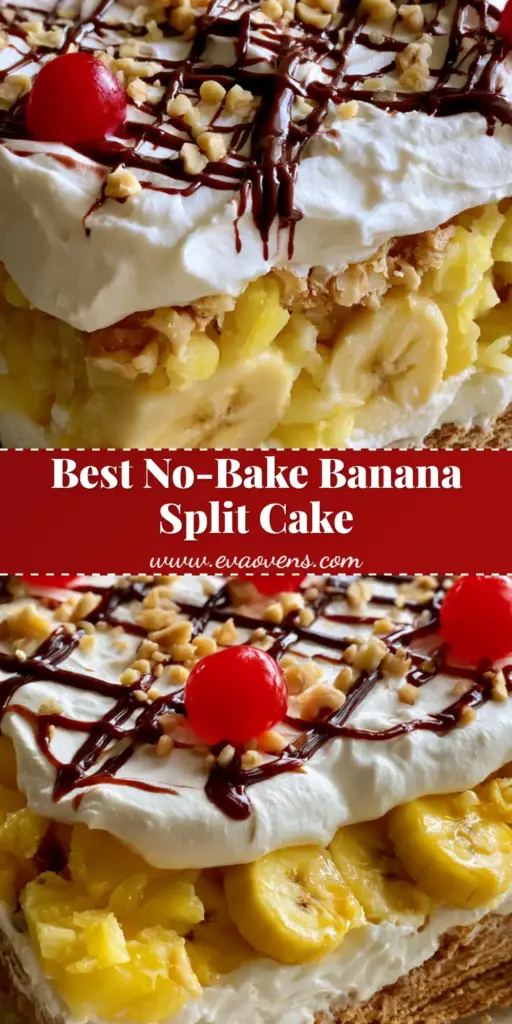
No-Bake Banana Split Cake: The Ultimate Layered Party Dessert
Ingredients
Equipment
Method
- Combine graham cracker crumbs, melted butter, and sugar. Press firmly into the bottom of a 9x13 glass dish. Freeze for 10 minutes.
- Beat softened cream cheese, powdered sugar, and vanilla until smooth. Spread over the chilled crust.
- Arrange sliced bananas over the cream cheese. Top with the thoroughly drained crushed pineapple, pressing down gently.
- Spread whipped cream over the fruit. Drizzle with chocolate syrup in a grid pattern. Sprinkle with walnuts and top with cherries at regular intervals.
- Refrigerate for at least 4 hours before serving to allow layers to set.
Notes
Chill the glass dish before starting for faster crust setting.
Share Your Creation!
We want to see your No-Bake Banana Split Cake! Did you nail the “messy grid” chocolate drizzle? Follow eva_ovens on Pinterest for more layered dessert inspiration and visual recipe guides. If you made this for a party, leave a 5-star rating below and upload a photo of your clear glass dish to show off those stunning layers. Happy “baking”!