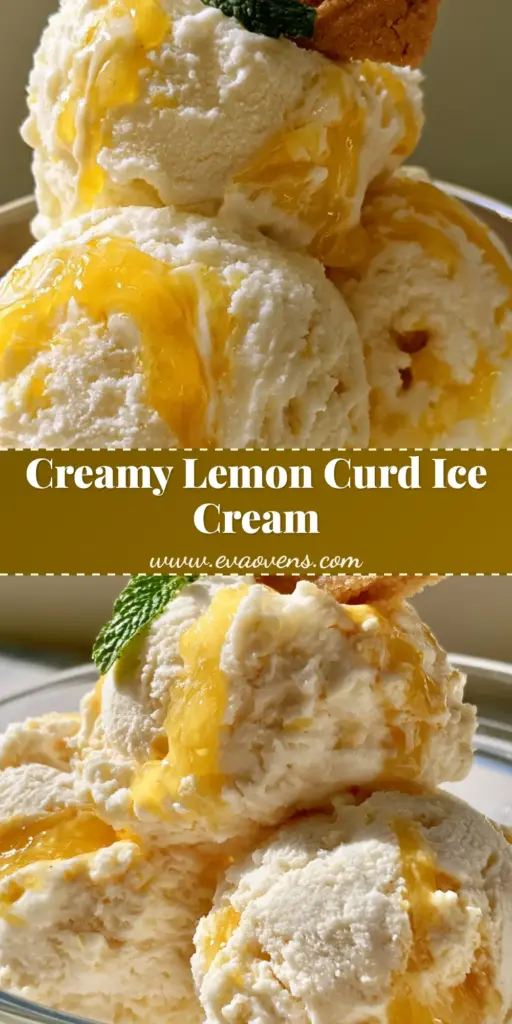
Lemon Curd Ice Cream is the dessert you didn’t know you were missing, combining a ultra-dense, velvety vanilla base with thick, vibrant swirls of citrus. If you are looking for a recipe that balances bright acidity with buttery richness, this is the one.
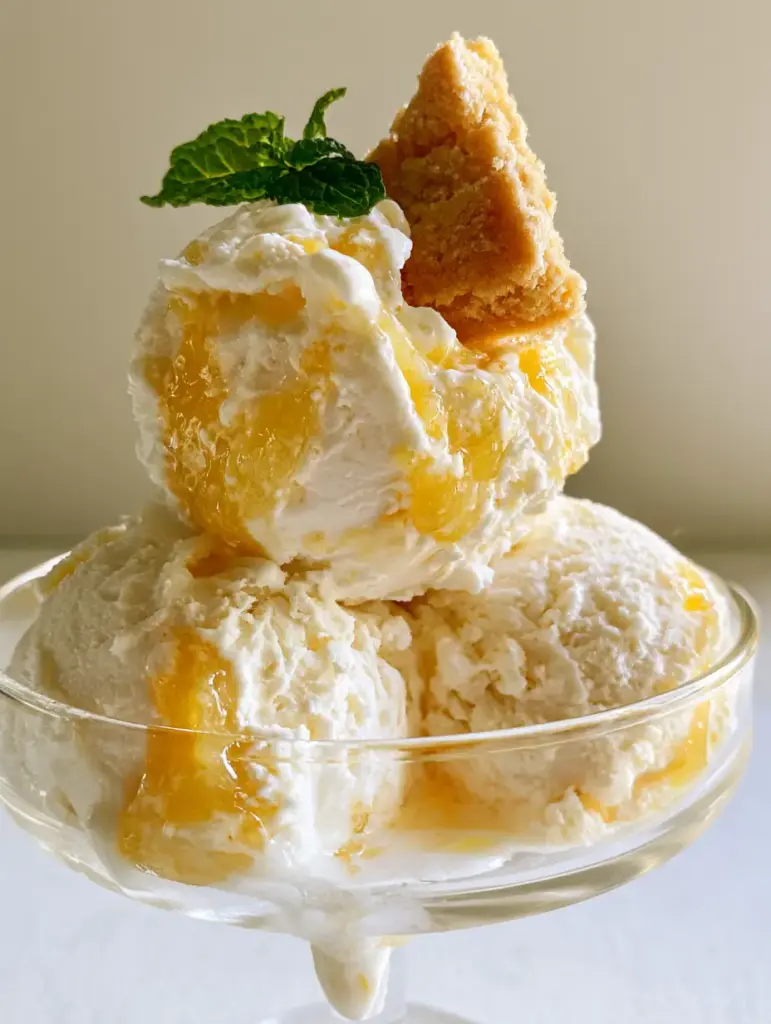
There is something magical about the way the translucent yellow lemon curd marbles through the snowy white ice cream. It’s not just about the flavor; it’s about that matte finish and the way the citrus cuts through the heavy cream for a perfectly balanced bite.
Whether you are serving this at a summer garden party or enjoying a quiet bowl on the porch, this Lemon Curd Ice Cream delivers a professional-grade culinary experience right from your home freezer. Let’s dive into why this specific recipe is a viral-worthy Pinterest sensation.
Why This Lemon Curd Ice Cream Recipe Works
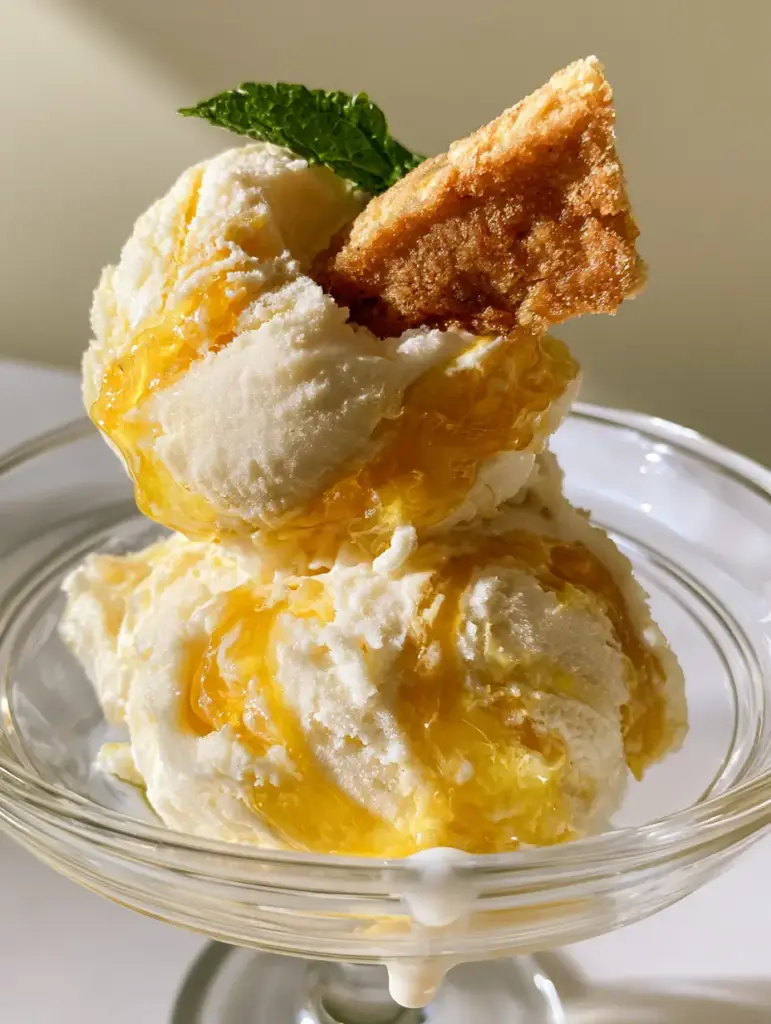
- High-Contrast Textures: The combination of dense, creamy white ice cream and the translucent, vibrant yellow lemon curd creates a visual and textural masterpiece.
- Balanced Flavor Profile: The sweetness of the vanilla custard base is perfectly offset by the sharp, tangy citrus ripple.
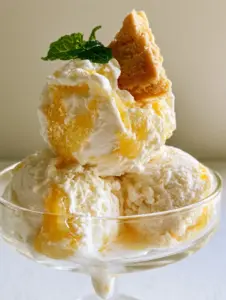
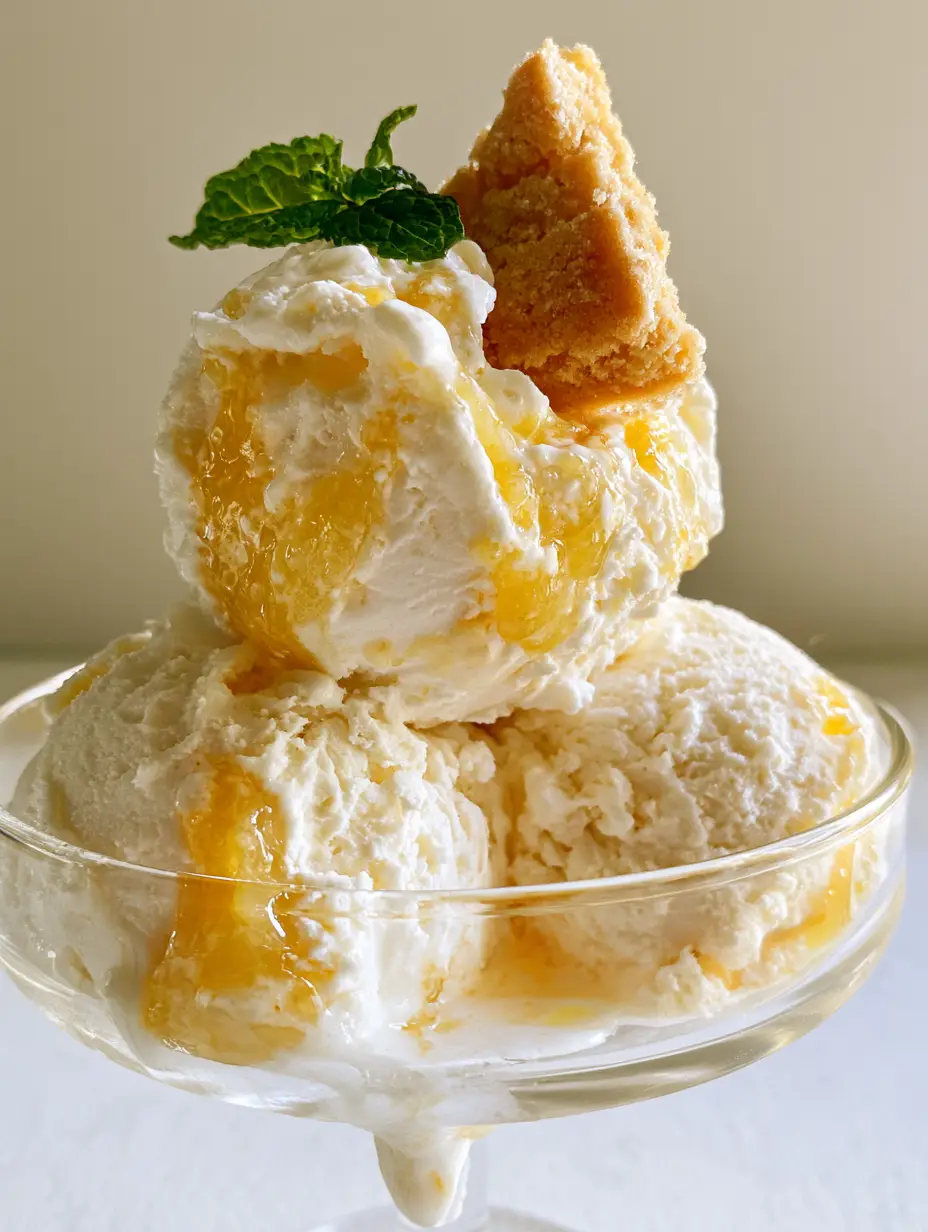
- Pinterest-Perfect Presentation: Garnished with a triangular buttery shortbread wedge and a vibrant green mint sprig, this dish is a literal work of art.
- Professional Mouthfeel: By using a traditional churn method, we achieve a soft, matte finish that mimics the best artisanal gelaterias.
If you love bright, fruity desserts, you might also want to try my strawberry shortcake sheet cake for your next gathering. Much like this ice cream, it focuses on the harmony of fruit and cream.
Essential Ingredients for the Creamiest Lemon Ice Cream
To achieve that ultra-dense, premium texture, every ingredient serves a specific culinary purpose. We aren’t just mixing sugar and cream; we are building an emulsion.
Heavy Cream (480ml / 2 cups): This provides the high fat content necessary for a rich mouthfeel and prevents the formation of large ice crystals.
Whole Milk (240ml / 1 cup): The milk thins the custard slightly so it isn’t cloying, ensuring the lemon curd ripple remains the star of the show.
Granulated Sugar (150g / 3/4 cup): Beyond sweetness, sugar lowers the freezing point, keeping your Lemon Curd Ice Cream scoopable straight from the freezer.
Egg Yolks (5 Large): These act as a natural emulsifier, creating that dense, custard-style base seen in professional ice cream shops.
Lemon Curd (150g / 1/2 cup): Use a high-quality, thick curd. It must be translucent and vibrant yellow to create those iconic marbled streaks.
Shortbread Cookies: A triangular piece of golden-brown, buttery shortbread crust added at the end provides a necessary crumbly texture and saltiness.
Fresh Mint: A single vibrant green mint sprig adds a pop of color and a refreshing aromatic finish to every glass dish.
For another decadent treat that uses a rich base, check out my heaven on earth cake.
How to Make the Perfect Lemon Curd Ice Cream Ripple
Creating the perfectly marbled scoop requires patience and a gentle hand. Follow these steps to ensure your Lemon Curd Ice Cream looks exactly like a professional food photograph.
1. Tempering the Custard Base
In a medium saucepan, heat your milk, sugar, and half of the heavy cream until simmering (about 175°F / 80°C). Do not let it boil, as this can change the protein structure of the dairy.
Whisk your egg yolks in a separate bowl. Slowly drizzle the hot milk mixture into the yolks while whisking constantly. This “tempering” process ensures you don’t end up with scrambled eggs in your Lemon Curd Ice Cream.
Return the mixture to the heat and stir until it coats the back of a spoon. Strain through a fine-mesh sieve into the remaining cold cream to stop the cooking process immediately.
2. The Churning Process
Chill your custard base for at least 4 hours, or ideally overnight. A cold base is the secret to a dense, matte finish in the final product.
Pour the mixture into your ice cream maker and churn according to the manufacturer’s instructions. You are looking for a texture that resembles thick soft-serve.
3. The Marbling Technique (Visual Cue)
This is the most critical step for the Visual Recipe Blueprint. Do not mix the lemon curd into the churner! Instead, transfer a third of the churned ice cream into a chilled container.
Drop small spoonfuls of the vibrant yellow lemon curd over the surface. Repeat the layers, then use a butter knife to gently swirl the curd. You want visible thick streaks, not a uniform yellow color.
4. Hardening and Garnishing
Freeze the ice cream for at least 6 hours. When ready to serve, use a large scoop to create two large, dense spheres in a clear glass dish.
Tuck a triangular piece of golden-brown shortbread into the top scoop. The crumbly texture of the cookie should be visible against the smooth ice cream. Top with a vibrant green mint sprig for that final professional touch.
Expert Tips for Success
- Chill Your Tools: Place your storage container in the freezer before churning to prevent slight melting drips at the base during the marbling process.
- Don’t Over-Swirl: To maintain the translucent yellow streaks, only pass your knife through the mixture 2-3 times. Over-mixing leads to a pale yellow ice cream instead of a marbled one.
- Salt is Key: Add a pinch of sea salt to your custard base. It enhances the lemon curd’s acidity and makes the vanilla notes sing.
- Quality Curd Matters: If your curd is too thin, it will disappear into the ice cream. Use a “thick-set” curd for those defined ripples.
If you enjoy desserts with a bit of a “crunch” like the shortbread in this recipe, you’ll love my hot fudge pie with its decadent crust.
Storage and Freezing Guidelines
Lemon Curd Ice Cream is best enjoyed within two weeks of churning. To maintain the soft, matte finish and prevent freezer burn, press a piece of plastic wrap directly onto the surface of the ice cream before sealing the lid.
Because of the sugar content in the lemon curd, this ice cream stays remarkably scoopable. If it becomes too hard, let it sit on the counter for 3-5 minutes before serving.
What to Serve With Lemon Curd Ice Cream
While this recipe features a buttery shortbread wedge, it also pairs beautifully with other treats. Serve a scoop alongside a warm slice of pound cake or even a bowl of fresh berries.
For a complete summer menu, consider starting with a savory dish like my apple cider vinegar braised chicken before ending the night with this tangy citrus dessert.
Frequently Asked Questions
Yes, you can use the ‘no-churn’ method by folding the lemon curd into whipped heavy cream and sweetened condensed milk, though the texture will be less dense than a traditional custard base.
Absolutely. Just ensure it is a high-quality brand with a vibrant yellow color and a thick, jam-like consistency to achieve the best visual marble effect.
Use high-fat heavy cream and plenty of egg yolks. The fat and emulsifiers coat the water molecules, preventing them from forming large, crunchy ice crystals.
If the ice cream is too soft or the curd is too thin, they will blend. Ensure your ice cream is at soft-serve consistency and your curd is chilled and thick before marbling.
The Ultimate Lemon Curd Ice Cream Recipe
Lemon Curd Ice Cream: The Ultimate Creamy and Tangy Summer Treat
Ingredients
Equipment
Method
- Combine milk, sugar, and 1 cup of heavy cream in a saucepan. Heat until simmering (175°F/80°C).
- Slowly whisk the hot milk mixture into the egg yolks. Return to heat and stir until the custard coats a spoon.
- Chill the base, then churn in your ice cream maker until it reaches a soft-serve consistency.
- Layer the churned ice cream with dollops of lemon curd in a cold container. Swirl gently with a knife to create thick yellow streaks.
Notes
For the best visual appeal, serve in a glass dish to show off the marbled streaks.
Save This Recipe to Pinterest!
Did you love the tangy, creamy ripples of this Lemon Curd Ice Cream? Don’t lose the recipe! Pin this post to your “Dessert Goals” board so you can make it all summer long.
I would love to see your creations! Upload a photo of your glass dessert dish in the comments below, and if you enjoyed the recipe, please leave a 5-star rating in the recipe card above. For more elite home cooking tips, follow eva_ovens on Pinterest!