Chocolate Coffee Whoopie Pies are the ultimate handheld indulgence for anyone who lives for the combination of deep, dark cocoa and robust espresso. These aren’t your average grocery store snack cakes; we are talking about ultra-soft dark chocolate cake discs that melt in your mouth, sandwiched around a thick espresso cream filling that packs a caffeine punch. If you love the sophisticated profile of a mocha latte but want it in a decadent, portable dessert, these whoopie pies are exactly what your kitchen needs today.
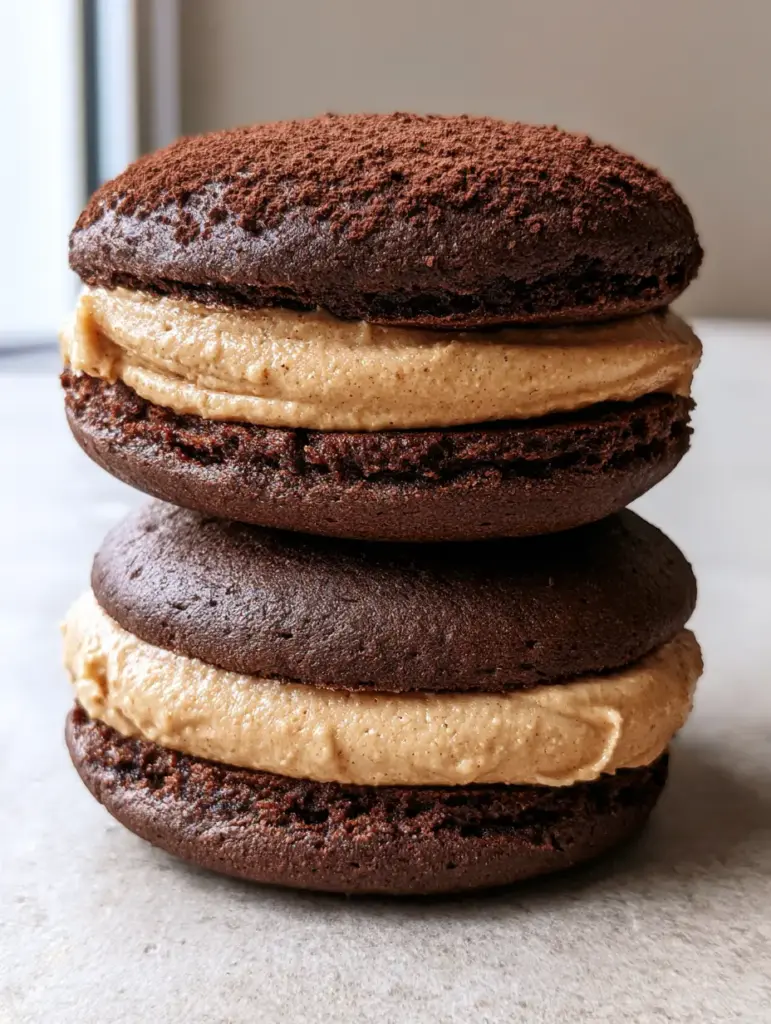
Captured in beautiful soft natural daylight, these treats feature a matte finish and a moist, slightly porous texture that is visually irresistible. Whether you are prepping these for a weekend treat or a special gathering, the contrast between the pale tan espresso-infused cream and the dark cocoa-brown cake makes for a stunning presentation that stops the scroll every time on Pinterest.
Why You Will Love These Dark Chocolate Espresso Treats
- The Perfect Texture: The cake discs are engineered to be incredibly soft and moist, ensuring they don’t crumble when you take a bite.
- Intense Coffee Flavor: We use both brewed coffee and espresso powder to ensure the coffee notes aren’t just a hint, but a primary feature.
- Visual Elegance: A light dusting of fine dark cocoa powder gives these a professional, bakery-style finish.
- Make-Ahead Friendly: These actually taste better the next day as the espresso cream softens the cake layers slightly.
Essential Ingredients for the Deepest Dark Chocolate Flavor
To achieve that visual recipe blueprint of dark, matte cake discs, we have to be specific about our cocoa choices and hydration methods. Here is what you need for the perfect Chocolate Coffee Whoopie Pies.
The Dark Chocolate Cake Bases
Dutch-Processed Cocoa Powder: 1/2 cup (45g). This is non-negotiable for achieving that dark cocoa-brown color and a smooth, mellow chocolate flavor. It reacts differently than natural cocoa, so don’t swap it!
Strong Hot Coffee: 1/2 cup (120ml). We use hot coffee to “bloom” the cocoa powder, which releases the flavor trapped in the solids and ensures a moist, porous texture.
All-Purpose Flour: 2 cups (250g). This provides the necessary structure to keep the discs thick and mounded rather than spreading into flat cookies.
Brown Sugar: 1 cup (200g) packed. Brown sugar adds moisture and a slight molasses undertone that pairs beautifully with coffee, much like my favorite brown butter pumpkin chocolate chip cookies.
Buttermilk: 1/2 cup (120ml). The acidity in buttermilk ensures a tender crumb and helps the baking soda lift the cakes into those iconic thick cake discs.
The Pale Tan Espresso Cream Filling
Unsalted Butter: 1 cup (225g), softened. This forms the base of our smooth layer of filling. Ensure it is at room temperature for a perfectly piped finish.
Instant Espresso Powder: 2 tablespoons. This gives the filling its pale tan color and a sharp, sophisticated coffee kick.
Powdered Sugar: 3.5 cups (420g). Sifted to ensure there are no lumps in your espresso-infused cream.
Heavy Cream: 2 tablespoons (30ml). This thins the frosting just enough to make it level with the edges of the cake without being runny.
How to Make Chocolate Coffee Whoopie Pies Step-by-Step
Creating the perfect Chocolate Coffee Whoopie Pies requires a balance of temperature and timing. Follow these steps to ensure your cakes are thick and soft.
1. Blooming the Cocoa and Prep
Preheat your oven to 350°F (175°C). Line two large baking sheets with parchment paper. In a small bowl, whisk your Dutch-process cocoa with the hot coffee until smooth. This “blooming” step is the secret to the matte finish and intense color seen in the Midjourney prompt.
2. Mixing the Cake Batter
In a large bowl, cream together your butter and brown sugar until fluffy. Add one large egg and a teaspoon of vanilla extract. Slowly alternate adding your dry ingredients (flour, baking soda, salt) with the buttermilk and the coffee-cocoa mixture. The batter should be thick, resembling a very soft dough rather than a runny cake batter.
3. Baking the Soft Cake Discs
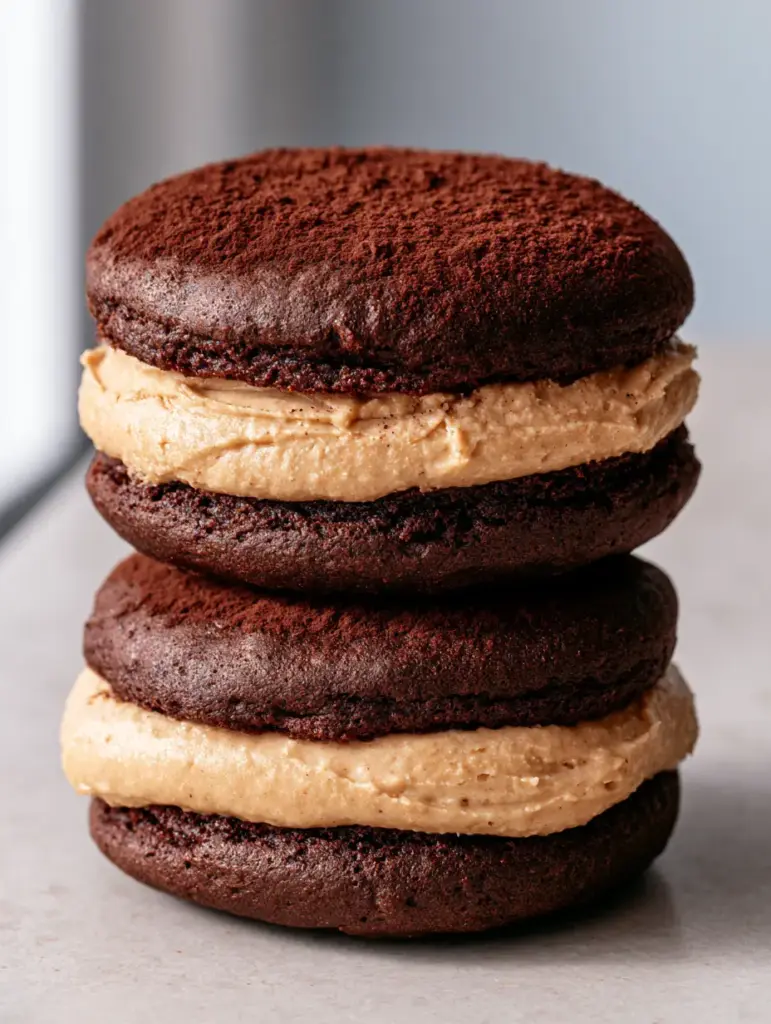
Use a cookie scoop to drop rounded tablespoons of batter onto your prepared sheets, spaced 2 inches apart. You want thick, soft, dark cocoa-brown cake discs. Bake for 10-12 minutes. Visual cue: The tops should spring back when lightly touched and look slightly porous. Let them cool completely on a wire rack before filling.
4. Crafting the Espresso Cream Filling
While the cakes cool, beat the softened butter and instant espresso powder together. Slowly add the powdered sugar and heavy cream. Whip on high for 3 minutes until the filling is a pale tan color and holds a stiff peak. If you love unique cookie fillings, you might also enjoy the flavors in matcha white chocolate cookies.
5. Assembly and the Cocoa Dusting
Pair up your cake discs by size. Pipe a generous, smooth layer of espresso filling onto the flat side of one disc. Place the second disc on top, pressing gently until the filling is level with the edges. For the final touch, use a fine-mesh sieve to apply an even dusting of dark cocoa powder across the top layer.
Expert Tips for Bakery-Quality Whoopie Pies
- Don’t Overbake: Whoopie pies can dry out quickly. Remove them from the oven when they are just set to maintain that moist, slightly porous texture.
- Use a Piping Bag: To get the filling perfectly piped as seen in the visual recipe blueprint, use a large round tip. It looks much cleaner than spreading with a knife.
- Sift Your Cocoa: When applying the fine cocoa powder dusting, always sift it. Clumps of cocoa powder can be bitter and ruin the matte finish.
- Chill for Stability: If your kitchen is warm, let the assembled Chocolate Coffee Whoopie Pies chill in the fridge for 20 minutes to set the cream before serving.
How to Store and Freeze Whoopie Pies
Because of the espresso-infused cream filling, these should be stored in an airtight container. They will stay fresh at room temperature for 2 days, or in the refrigerator for up to 5 days. The moist cake texture actually holds up very well to chilling.
To freeze, wrap each pie individually in plastic wrap and place them in a freezer-safe bag. They will keep for up to 3 months. Thaw in the refrigerator overnight before enjoying. This is a great way to have a sophisticated dessert ready, similar to how I meal prep my Mediterranean chicken meal prep for the week.
Frequently Asked Questions
Yes, but espresso powder is more concentrated. If using instant coffee, double the amount to achieve that distinct pale tan color and robust flavor in the filling.
Since the filling is a dairy-based buttercream, they should be refrigerated if kept for more than two days, especially in warm climates, to keep the espresso cream stable.
Dust the pies just before serving. If you dust them too early and refrigerate them, the moisture in the cake can absorb the cocoa powder, losing that matte finish.
Flat cakes usually result from over-mixing the batter or using expired baking soda. Ensure your baking soda is fresh and stop mixing as soon as the flour streaks disappear.
The Ultimate Chocolate Coffee Whoopie Pies Recipe
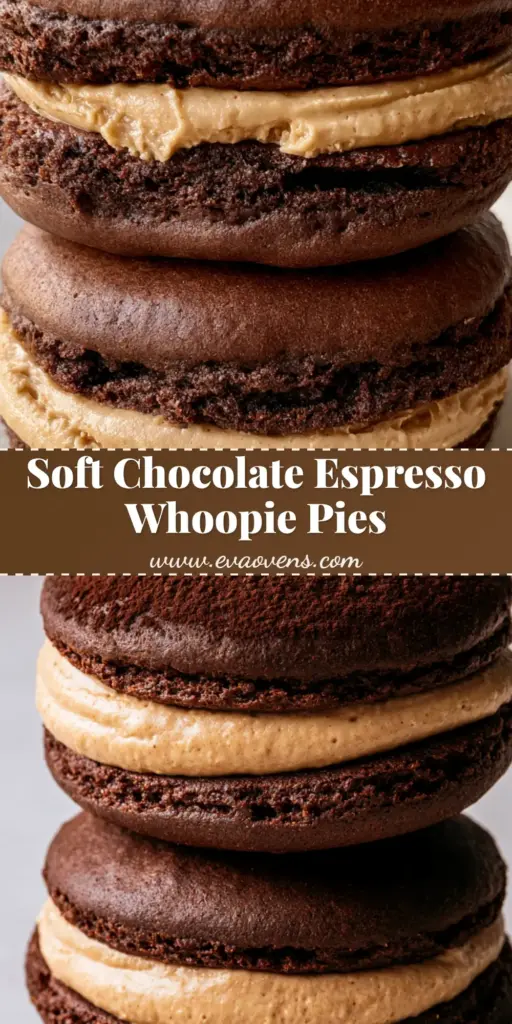
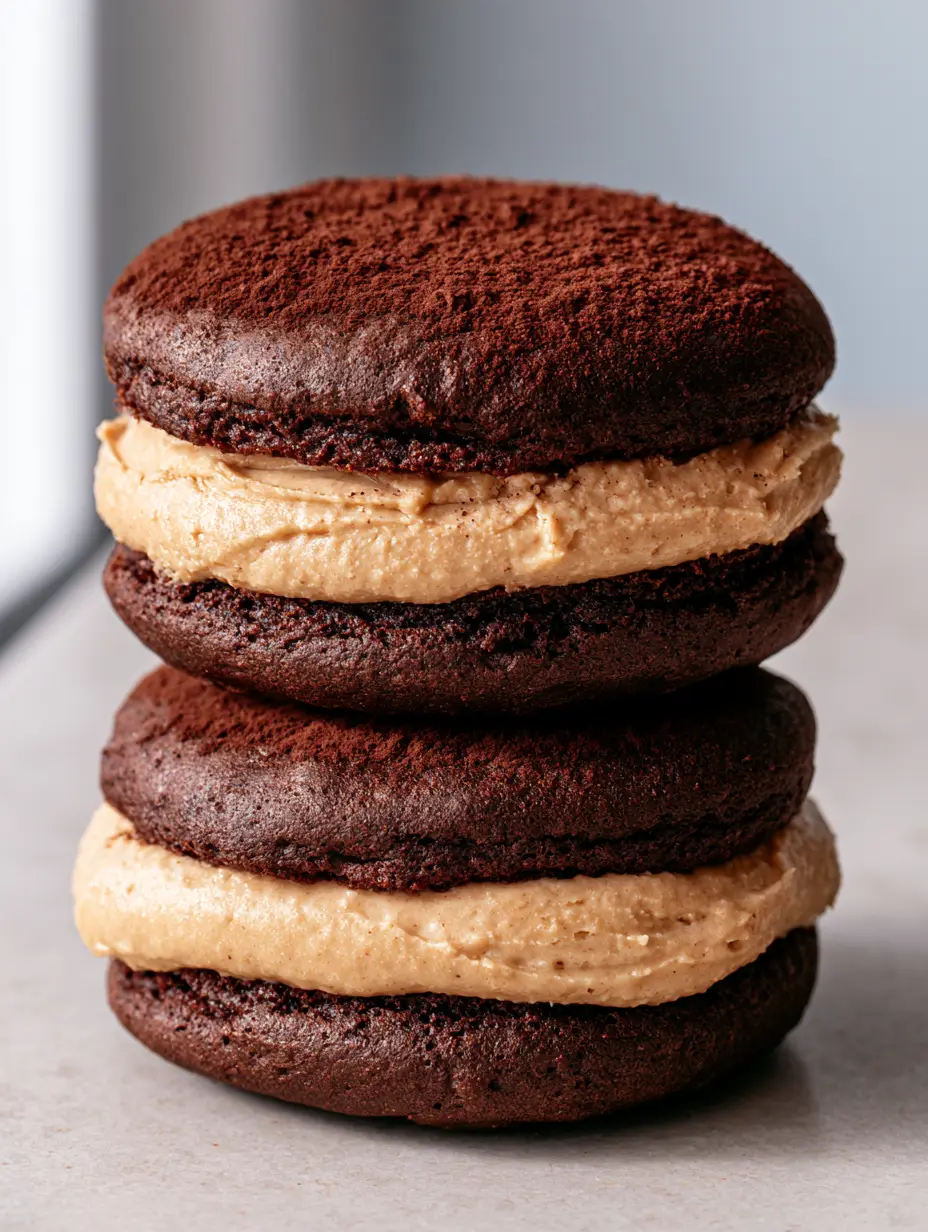
Chocolate Coffee Whoopie Pies with Velvet Espresso Cream
Ingredients
Equipment
Method
- Whisk hot coffee and Dutch-process cocoa powder together until smooth; set aside to cool slightly.
- Cream butter and brown sugar until light and fluffy. Add the egg and mix well.
- Alternate adding dry ingredients and buttermilk into the butter mixture, ending with the coffee-cocoa mixture. Mix until just combined.
- Scoop rounded tablespoons of batter onto prepared baking sheets.
- Bake at 350°F (175°C) for 10-12 minutes until cakes are soft but spring back.
- Whip butter, espresso powder, powdered sugar, and cream until a pale tan, smooth frosting forms.
- Pipe a thick layer of espresso cream onto the bottom of one disc, top with another, and dust with fine cocoa powder.
Notes
Do not overbake the cakes to keep them moist and porous.
Join the Eva Ovens Community!
Did you make these Chocolate Coffee Whoopie Pies? I want to see your thick espresso cream layers! Please leave a 5-star rating in the recipe card above and head over to Pinterest to follow eva_ovens for more decadent dessert inspiration. Tag me in your photos or leave a comment below with your results—nothing makes me happier than seeing these recipes come to life in your kitchens!